Telescope collimation Aligning the mirrors in a Newtonian or Dobsonian telescope. If the mirrors are not precisely aligned, you lose sharpness and contrast: precisely the two characteristics for which you buy a reflector telescope. The good news: you can do it yourself, with simple tools and in a few minutes.
This guide explains how to check if your telescope needs collimation, what tools are right for your telescope, and how to collimate step-by-step with a Cheshire or laser collimator. It also covers the most frequent errors we encounter with customers.
In brief
- Only reflecting telescopes (Newtonian and Dobsonian) require collimation. Refracting telescopes and catadioptric telescopes do not.
- You always adjust the secondary mirror first, then the primary.
- A Cheshire is precise and never goes out of line. A laser is faster, especially in the dark.
- The faster the telescope (f/4 or f/5), the more precise the alignment needs to be. At f/8, there's much more leeway.
- The star test in the sky is always the final check.
What exactly is telescope collimation?
In a reflecting telescope, light travels a fixed path. The large primary mirror at the bottom of the tube collects the light and focuses it. The small secondary mirror, angled below the opening, directs that beam to the eyepiece holder. Collimation means that both mirrors are aligned so that the beam passes precisely through the center of your eyepiece.
If that path deviates, you'll see it directly in the image:
- Stars remain small comets with a tail, even when you focus perfectly.
- Planet details disappear: cloud bands on Jupiter and the Cassini Division in Saturn are fading.
- The contrast drops, making nebulae look dull.
- In astrophotography, stars are in focus in one part of the field of view, but not in the rest.
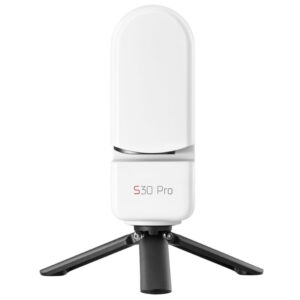
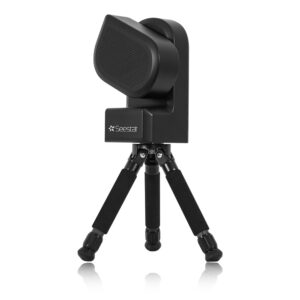
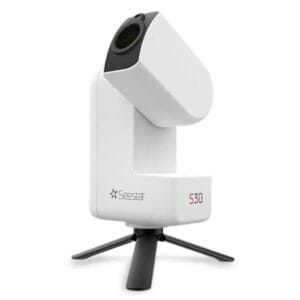
Which telescopes need this? Every Newtonian and every Dobson telescope. Lens telescopes are aligned at the factory and almost always remain so. Smart telescopes like the Seestar, DWARF, and Vespera are sealed and have no adjustable optics: you can't and don't need to collimate anything on them.
Does your telescope need collimation? Here's how to test it
Before you start adjusting: check first. Many telescopes that are described by their owners as being out of alignment are actually in good alignment and have a different problem, such as a warm mirror or turbulent air.
Quick check in daylight
Remove the eyepiece, point the tube at a light wall or a white sheet of paper, and look into the empty eyepiece holder. You will then see the secondary mirror, within that the primary mirror, and within that the reflection of your eye and the secondary. If everything is neatly concentric, like circles within circles, then you are good. If something is clearly off-center, then adjustment is worthwhile.
The star test at night
Let the telescope acclimate outside for 30 to 45 minutes first. Aim at a bright star, use high magnification (starting around 150x), and slightly de-focus the image. You will then see a disk with rings. If the rings are nicely centered, your telescope is aligned. If the dark hole in the middle is clearly off to one side, the primary mirror needs adjustment.
Extensive control points
- With a new telescope, right out of the box. Shipping is the biggest culprit.
- After every autoride with the telescope in the back.
- With an extendable FlexTube, each time after you've extended the tube.
- For every astrophotography session with a fast Newton.
- At the beginning of a new season, even if the telescope has been standing still.
Which collimation tool is suitable for your telescope?
Collimating on the eye or with a homemade cap works to a certain extent, but you never achieve the precision that a fast mirror demands. Two types of tools do the job well, and they complement each other.
| Tools | Strong point | Point of attention | Goes well with |
|---|---|---|---|
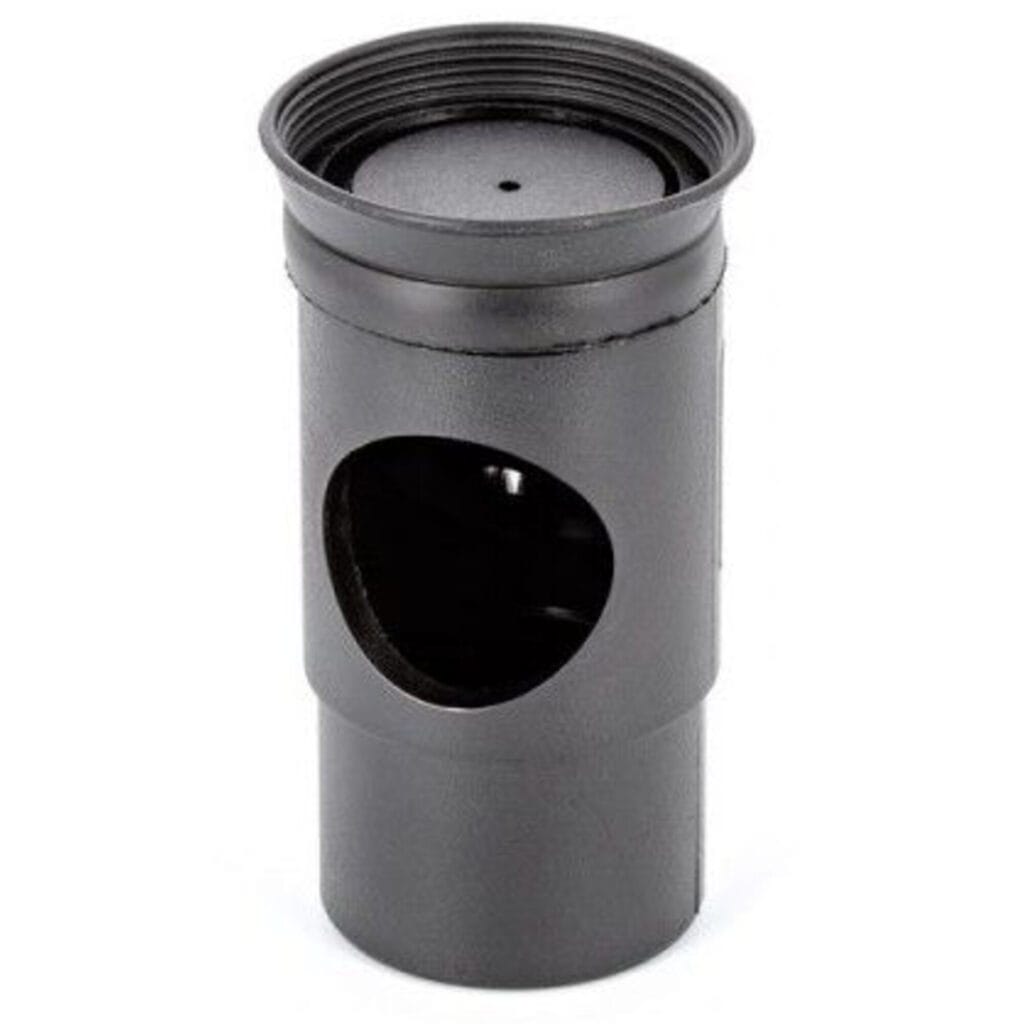
| Cheshire met vizierbuis | Accurate, no batteries, never goes out of line itself | You need light to see the crosshair. | Each Newton and Dobson, from f/5 to f/8 |
| Laser collimator | Fast, works in the dark, you adjust while you watch | The laser must align itself and fit without play. | Anyone who frequently sets up and takes down or has fast optics |
| Laser with Barlow | Insensitive to play in the eyepiece holder | Only usable for the primary mirror | Astrophotography and f/4 optics |
| Collimator cap | Free, always at hand | Only a rough check of the secondary | Emergency on the way |
Our advice per situation
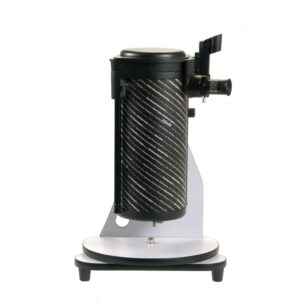
- Beginner with a tabletop or classic Dobsonian: start with a Sky-Watcher Cheshire Collimation Eyepiece. Simple, affordable, and it will last you a lifetime of stargazing.
- You often build in the dark: a Omegon laser collimator saves time and hassle with flashlights.
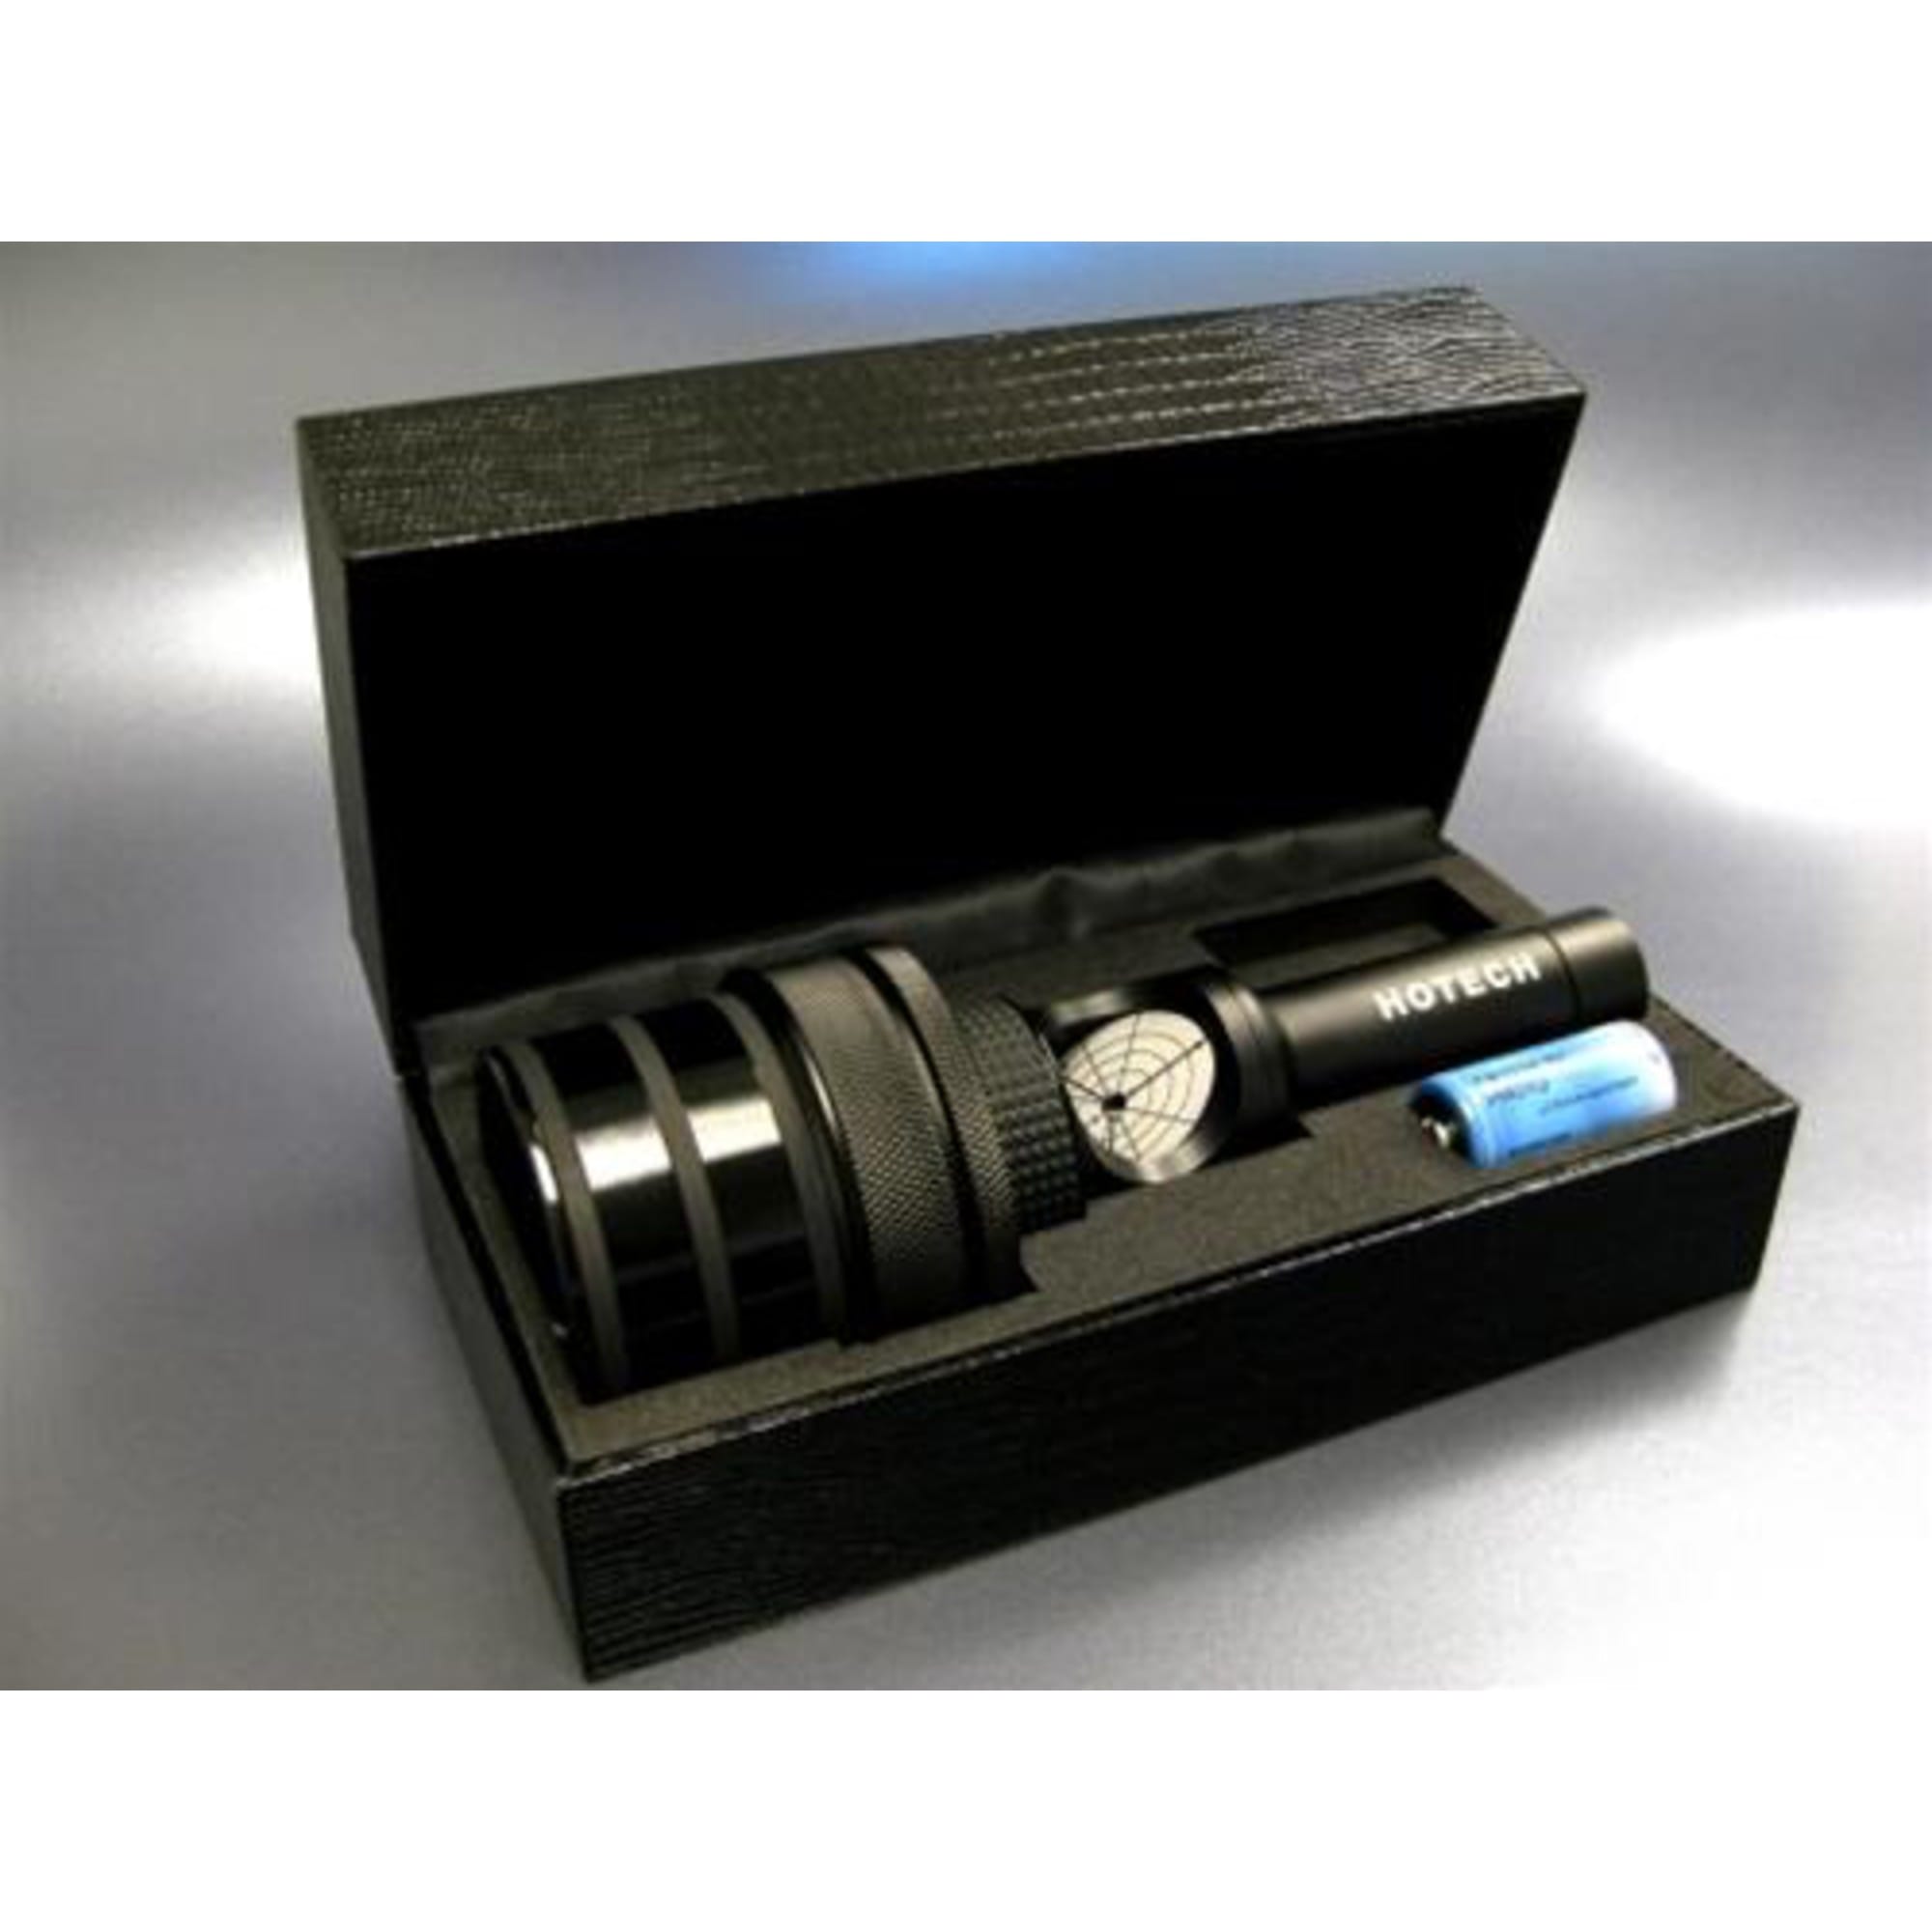
- You don't want any play in the eyepiece holder: the Hotech SCA Laser Collimator It clamps itself centered. That costs more, but eliminates the biggest source of error.
- Fast astrograph from f/4: use a tool made for that, such as the Omegon Deluxe Collimation Eyepiece that works up to f/3.
- For those who don't need this: If you have a lens telescope or a smart telescope, don't buy collimation tools. They are useless to you.
All models side-by-side can be seen on the category page with collimation tool and laser collimators.
Collimating with a Cheshire: Step-by-step
Do this in daylight or indoors with good lighting. Allow fifteen minutes the first time, then a few minutes after that.
- Place the tube horizontally and hold a white sheet of paper or a light wall in front of the opening. This will make the mirror edges visible.
- Remove the eyepiece and slide the Cheshire into the eyepiece holder. Secure it firmly so it cannot tilt.
- Look through it. The secondary mirror should be round and centered below the eyepiece holder. If it's too high or too low in the image, turn the central bolt of the secondary mirror holder.
- Is the position correct, but you can't see the entire primary mirror? Then turn the three small adjustment screws around that central bolt until you see the whole primary mirror with the mirror clamps symmetrically at the edge.
- Now the primary. Locate the ring in the center of the primary mirror (the center mark) and turn the three large adjustment screws on the back of the telescope until the crosshairs of the Cheshire eyepiece fall precisely into that ring.
- Tighten the locking screws again lightly and look through the Cheshire again. If anything shifts, correct that last step.
Work in small steps. A quarter turn on an adjustment screw is often enough, and never loosen a screw completely.
Collimating with a Laser Collimator: Step-by-Step
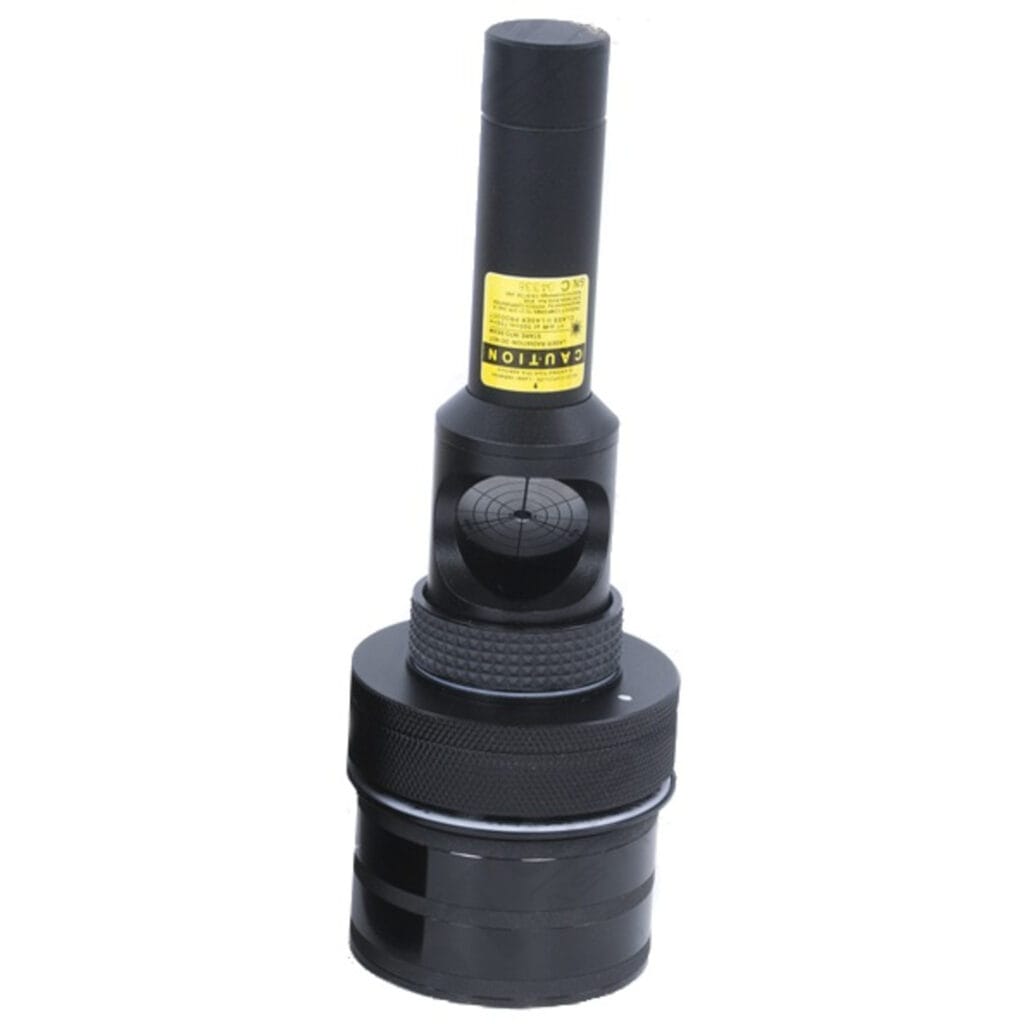
- First, check the laser itself. Turn it on, slide it into the eyepiece holder, and slowly rotate it on its axis. If the red dot stays in place, the laser is aligned. If the dot makes a circle, you will be measuring errors that are not in your telescope from now on. A self-centering model largely prevents this problem.
- Place the telescope stably, with the tube slightly tilted, so you can access the adjustment screws on the back.
- Slide the laser into the eyepiece holder and secure it. Never look into the beam, not even via a mirror.
- Locate the red dot on the primary mirror. Adjust the secondary mirror using the three small adjustment screws until the dot is in the center of the ring on the primary.
- Now look at the return window on the laser itself. The reflected beam comes back there. Adjust the three set screws on the primary mirror until the reflected spot falls precisely into the hole.
- Lightly tighten the retaining screws and check if the dot stays in place. Then move the tube up and down a bit: if the dot shifts, there is play in the mirror cell or the eyepiece holder.
Two things a laser does not do. It doesn't tell you if the secondary mirror is centered under the eyepiece holder, as you'd use a Cheshire or a sight tube for that. And it's sensitive to play in the focuser. If you put a Barlow in front of the laser, that sensitivity when aligning the primary disappears. Many experienced observers therefore work with both tools: laser for speed, Cheshire for final checks.
The most common errors we encounter
- Collimation without center mark. If there is no ring on your primary mirror, then a laser has no reference point. Most telescopes have this marking as standard; if it is missing, stick it on neatly first.
- The laser is not controlled. A laser that is misaligned itself consistently sends your telescope in the wrong direction.
- Leave the borg bolts in. Many mirror cells have three adjustment screws and three locking screws. Loosen the locking screws first, otherwise you'll be working against yourself.
- Tighten too much. A tightly tightened mirror clamp or set screw can slightly distort the mirror. This visibly degrades the image.
- Assess with a warm telescope. A mirror that hasn't reached ambient temperature yet will show a unstable image that resembles poor collimation. Let it cool down first before judging.
- Too often doing everything again. An f/8 solid-tube Dobsonian rarely goes out of alignment on its own. Checking is fine; disassembling everything each time is not.
How often should you collimate?
- Fixed-tube Dobson, remains at home: Checking a few times per season is enough.
- Extendable FlexTube or travel tube: Check again during each build. Usually a small correction to the primary is sufficient.
- Telescope that regularly goes into the car: check at each session.
- Fast Newton for astrophotography: for each session, and during long nights, once more in between.
- Lens telescope or smart telescope: Never.
Frequently Asked Questions about Telescope Collimation
Do lens telescopes also need collimation?
In practice, no. A refractor is aligned at the factory, and the lenses are fixed in a cell. It might only be necessary after a significant fall or impact, and that's a job for the manufacturer or a specialist.
Do I need to collimate my Seestar, DWARF, or Vespera?
No. Smart telescopes have a closed optical system without adjustable mirrors. If the image is not sharp, check the focus function in the app, the temperature of the optics, and the air quality.
Is a laser collimator better than a Cheshire?
A laser is faster, a Cheshire is more reliable. The laser depends on its own alignment and a snug fit in the eyepiece holder; the Cheshire doesn't have that problem. If you have to choose and you have a telescope between f/5 and f/8, then the Cheshire is the safest first purchase.
Can I damage my telescope while collimating it?
If you work calmly, no. Turn screws in small increments, don't force anything, and always leave the mirror in its clamps. Do not touch the mirror surface: fingerprints cost more image quality than a slight deviation in alignment.
Is my secondary mirror slightly off-center? Is that correct?
That can be correct for fast telescopes. The secondary mirror is intentionally placed slightly away from the eyepiece holder and slightly towards the primary, so that the field of view is evenly illuminated. This shift is called offset. If you see the primary mirror fully and symmetrically through a Cheshire eyepiece, then you are well aligned, even if the secondary itself does not appear perfectly centered.
I have collimated, but the image remains blurry
Then the cause is likely somewhere else: a warm mirror, turbulent air, too much magnification, or dew on the optics. In why can't I see anything through my telescope we go through all the causes. For the setup itself, from tripod to viewfinder and focusing, you can consult our guide on adjust telescope.
How to keep your reflecting telescope in focus
Collimation is not a complicated job, but it is the job that yields the most per minute spent. A well-aligned mirror will show you what you bought it for: sharp stars all the way to the edges, detail on Jupiter and Saturn, and nebulae with contrast. Check before you begin, adjust in small steps, and finish with a star test.
Do you want to know which accessories are compatible with your telescope, or are you unsure about what you're seeing in your star test? Feel free to send us a photo of your image, and we'll take a look with you. Otherwise, check out our selection directly. collimation tool, our range reflector telescopes Whether the Buyer's guide for beginners if you're still choosing.