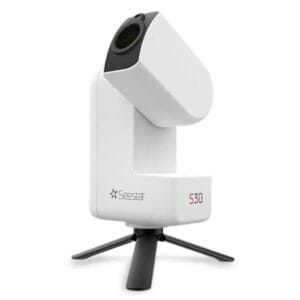
Anyone looking through a telescope for the first time soon discovers that it is not the tube but the eyepiece that determines what the image looks like. The eyepiece is the last piece of optics between you and the universe; it translates the captured light into a sharp, contrasty and comfortable image. In this telescope eyepiece explanation duiken we in wat een goed oculair onderscheidt van een matig oculair: brandpuntsafstand, image field, eye relief, glass quality, and the balance between magnification and brightness.
This is how you calculate what you can actually see
After you know what size eyepiece fits your telescope, comes the most important piece: understanding what each eyepiece actually shows. The focal length of an eyepiece determines not only how “far in” you look, but also how clear the image remains. This is where the concept of target planning around the corner: cleverly combining magnification and brightness to make visible exactly what you want to see.
Magnification is calculated using a simple formula:
Magnification = focal length telescope ÷ focal length eyepiece.
Een telescoop met een brandpuntsafstand van 1000 mm en een 10 mm oculair levert dus 100× vergroting. Kies je een 25 mm oculair, dan daalt de vergroting naar 40×: het beeld wordt lichter en overzichtelijker.
The brightness is directly related to the exit pupil, the diameter of the light beam leaving the eyepiece. You calculate this as:
Exit pupil = aperture (mm) ÷ magnification or = eyepiece focal length ÷ f-number of telescope.
Thus, a short eyepiece with small focal length produces a small exit pupil (darker, more detail), while a long eyepiece produces a larger exit pupil (brighter, wider image). Those who understand how these values work together can optimize any telescope for a variety of purposes: from the rings of Saturn to the faint nebulae in Orion.
AFOV and TFOV: how wide you really see
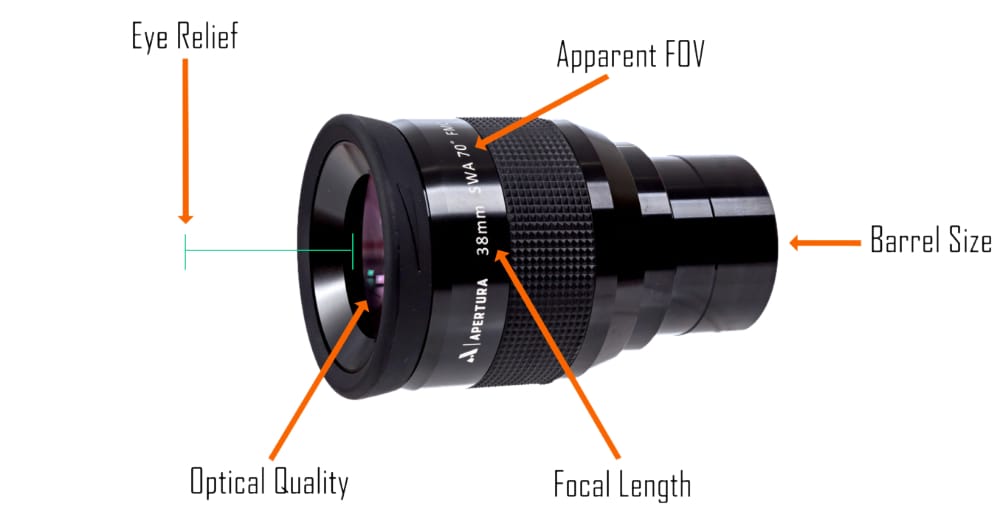
Field of view is what makes perception spatial. Eyepieces have a apparent field of view (AFOV), het schijnbare beeldveld dat je oog ervaart, gemeten in graden, en een true field of view (TFOV), de werkelijke hoek aan de hemel die je ziet. AFOV vertelt hoe meeslepend het voelt: een oculair van 50° geeft een klassiek rond venster; 82° of meer voelt alsof je erin zit.
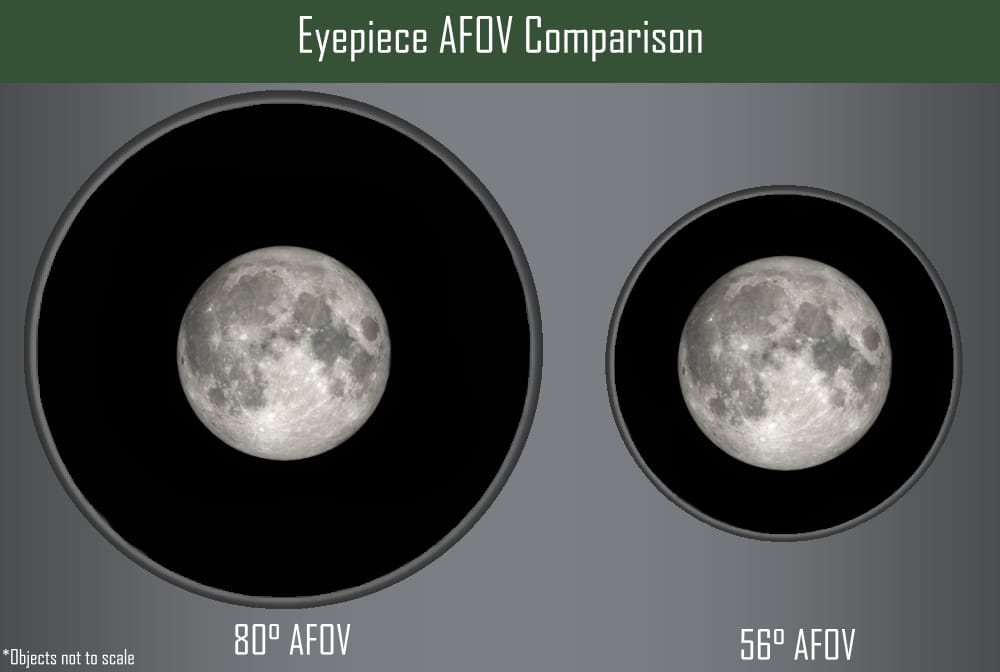
TFOV is easily calculated with TFOV = AFOV ÷ magnification. Stel dat je een telescoop van 2032 mm koppelt aan een 7 mm-oculair met een AFOV van 82°. De vergroting is 290× en het TFOV dus 0,28°. Dat is net iets meer dan de halve maanschijf. Wie de maan volledig in beeld wil zien, heeft dus een TFOV groter dan 0,5° nodig, en dus een oculair met een langere brandpuntsafstand of een breder beeldveld.
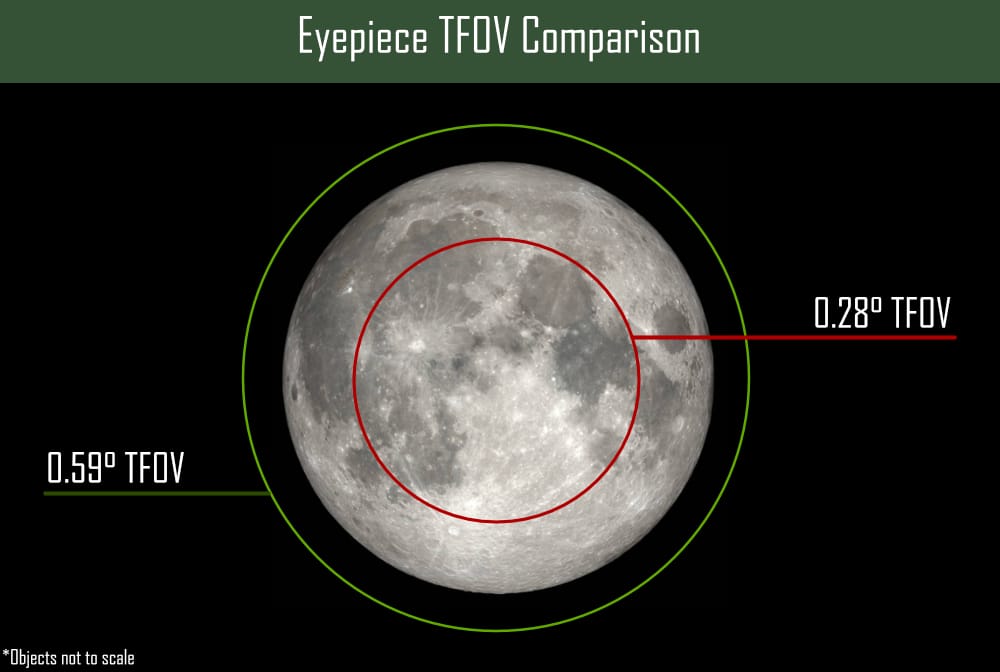
Welke vergroting past bij welk object?
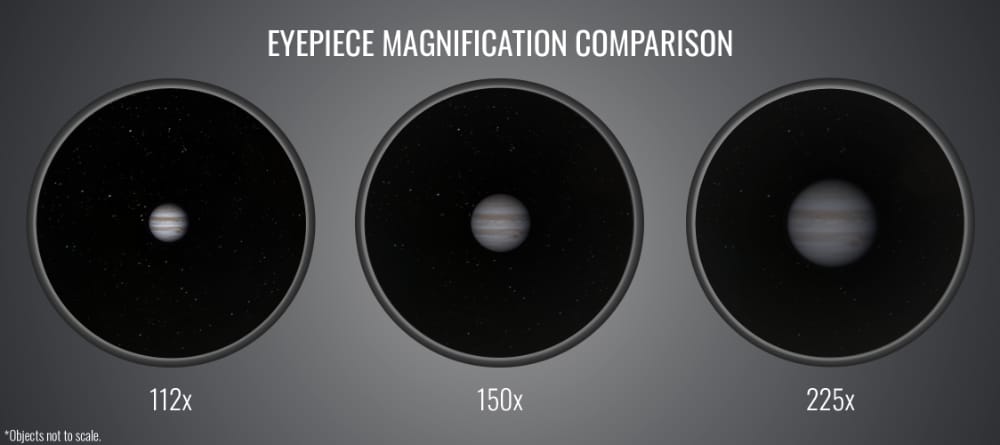
Magnification determines how large an object appears in your field of view, but also how useful that image remains. Higher magnifications magnify not only the object, but also any irregularity in the sky, spreading the available light over a larger area. As a result, the image brightness drops rapidly as you “zoom in” further.
A handy way to picture it is with a flashlight on a wall. If you aim a narrow beam, the spot is small but intensely bright. Widen the beam, and the image becomes larger but much weaker. The same goes for your telescope: double the magnification, and the brightness decreases by a factor of four.
Use that knowledge to plan purposefully. With a 8-inch telescope (about 200 mm aperture) you can roughly use the following ranges: low magnifications of 30× to 70× tonen open clusters en melkwegvelden in hun volle context; middelmatige vergrotingen rond 100× to 150× bring nebulae and galaxies closer; high magnifications of 200× to 300× reveal the finest details on the moon or the cloud bands of Jupiter.
Een grotere opening vangt meer licht en compenseert het helderheidsverlies bij hoge vergroting, waardoor grotere telescopen niet alleen “meer inzoomen” maar vooral meer licht en contrast behouden bij hetzelfde oculair. Maar om heel eerlijk te zijn, heb je voor planeten al genoeg aan 100 tot 150x vergroting met een kwalitatief goed oculair.
Optical quality and coatings
The sharpness you see is never better than the weakest piece of glass in your optical chain. Cheap eyepieces often have simple lenses with few layers of coating; these reflect light and reduce contrast. Good quality eyepieces use ED or lanthanum glass that corrects color deviations and allows more light through.
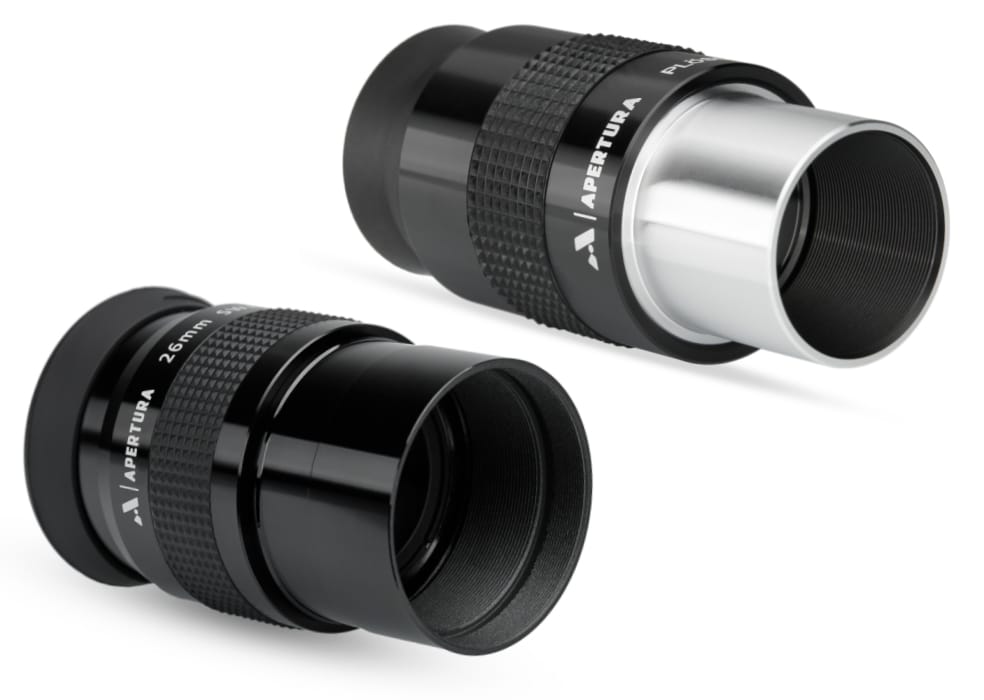
Also important are the coatings: FMC (fully multi-coated) lenses minimize reflections and increase light transmission to above 95 %. In more expensive eyepieces, the lens edges are additionally painted black (blackened edges) to suppress stray light and internal reflections. That seems like detail work, but you see the difference immediately on planets and the moon: more microcontrast, more calmness in the image.
Eye relief: looking without peering
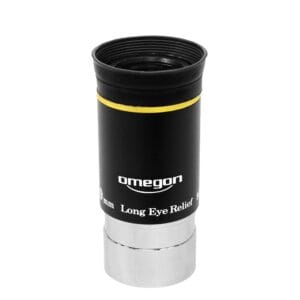
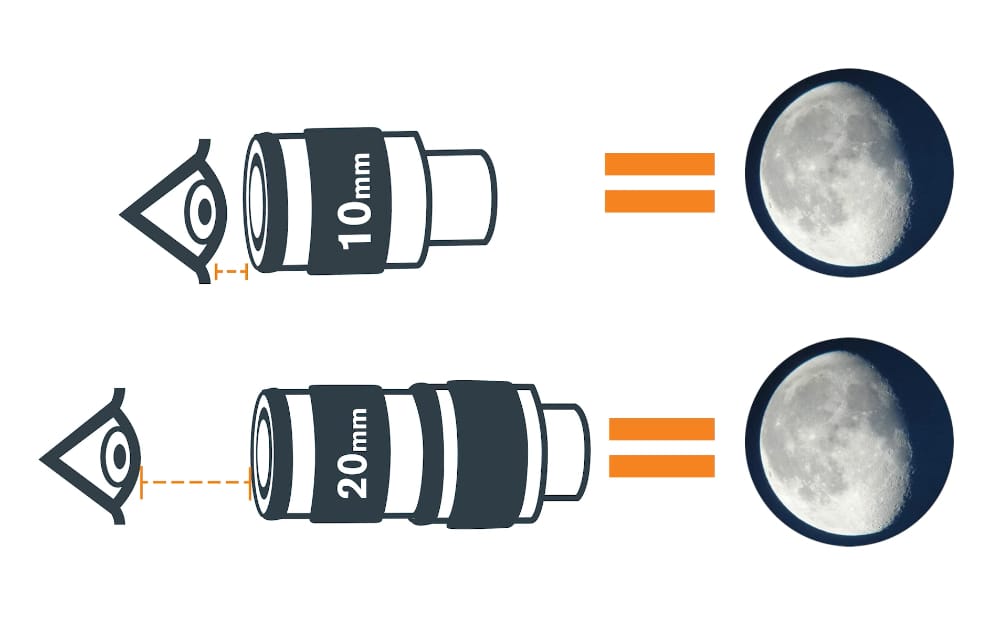
Eye relief is the distance between your eye and the eyepiece at which you see the full field. Short eye relief feels like you have to press your eye into the glass, and that's tiring, especially with glasses. 15 mm or more is comfortable for most observers; 20 mm is ideal for eyeglass wearers. Some series, such as the “long eye relief” designs, maintain that comfort even at short focal lengths.
Visions and balance
The 1.25″ eyepieces are the most common. They are compact, inexpensive and fit virtually any telescope. They often have shorter focal points, making them ideal for planetary and lunar observations. 2″ eyepieces are larger, heavier and more expensive, but can combine longer focal lengths with a wide field of view, perfect for vast nebulae, open clusters and galaxy fields. Do pay attention to balance: with Dobsonians, a heavy 2″ eyepiece can shift the balance.
Magnification, brightness and exit pupil
Behind every well-chosen eyepiece is one figure that is often overlooked: the exit pupil. That is literally the disc of light that comes out of the eyepiece and enters your eye. The diameter of that disc determines how much light and detail you actually see.
The calculation is simple:
Exit pupil = aperture (mm) ÷ magnification or = oculair-brandpuntsafstand ÷ f-getal. Het f-getal = brandpuntsafstand ÷ opening.
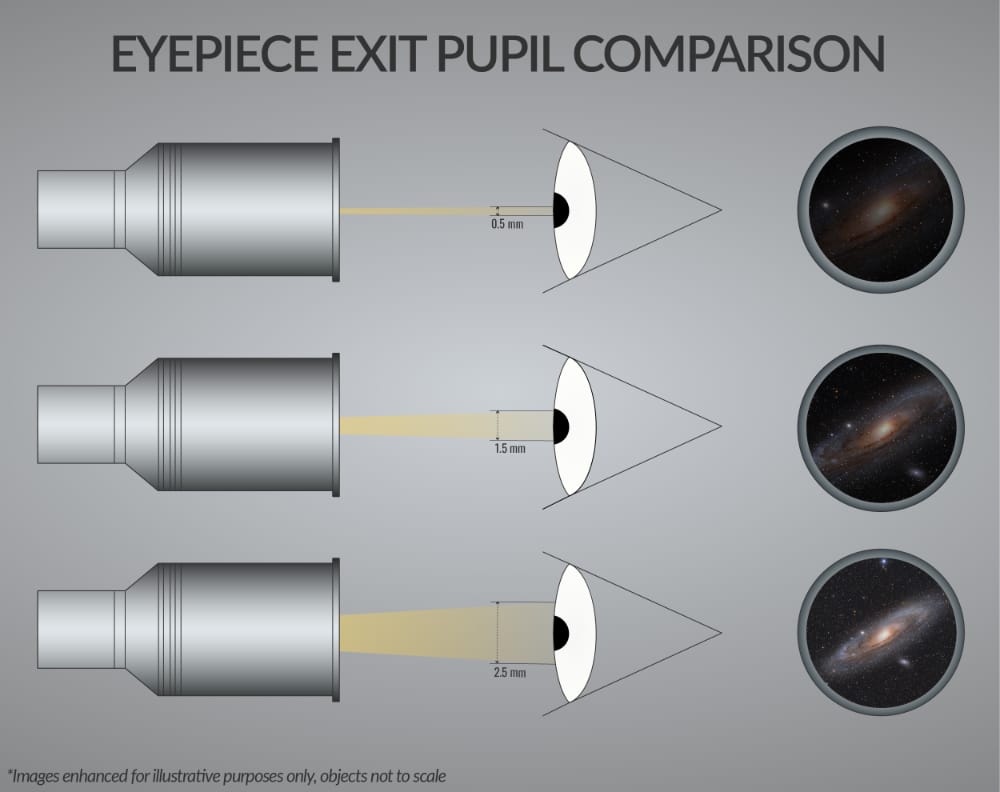
With a 200 mm telescope at f/10 and a 10 mm eyepiece, you get a magnification of 200× and an exit pupil of 1 mm, ideal for planets. With a 25 mm eyepiece, the magnification drops to 80× and the exit pupil rises to 2.5 mm, a perfect balance for most deep-sky objects.
In practice, it works like this: an exit pupil of 0.5 to 1 mm is suitable for moon and planets, where brightness is not an issue. Round 1 to 2.5 mm globular clusters perform best. Between 2 and 3 mm planetary nebulae stand out because of bright contrast, while a 3 to 7 mm exit pupil ideaal is voor brede objecten zoals het Andromedastelsel of de Pleiaden. De vuistregel blijft: rond 2 mm lies the sweet spot for most observations, bright enough to see subtle details but still contrasty and calm in image.
Exit pupil and magnification always move in opposite directions. If you enlarge the image, you reduce the beam. If you double the magnification, then the exit pupil halves. This is exactly why eyepieces with extremely short focal lengths on small telescopes often disappoint: the image not only becomes darker, but also more sensitive to vibration and air turbulence.
Wat is de maximale vergroting in de praktijk?
Even the best optics have a limit, and that limit rarely lies with the telescope itself. It is the atmosphere that determines how much magnification you can really use. Under average conditions, you can count on a praktische limiet van 40 tot 50× per inch opening. For an 8″ telescope (about 200 mm), that means a usable maximum around 300×.
De klassieke regel van 50 tot 60× per inch is optimistisch en gaat alleen op bij perfecte seeing, iets wat in Nederland en België zelden voorkomt. In de praktijk levert die hoge vergroting meestal een zacht, trillend beeld zonder extra detail.
Again, take the 8″ Schmidt-Cassegrain with a focal length of 2032 mm.
With a 7 tot 8 mm oculair bereik je ongeveer 250 tot 290× vergroting, ideaal voor planeten en maankraters. Een 13 tot 14 mm oculair gives about 150×, perfect for most deep-sky objects and good for planets. A 25 tot 30 mm oculair zakt naar 70 tot 80×, waarmee je brede velden zoals de Dubbele Cluster of de Orionnevel prachtig kadert.
The secret is in the balance between magnification, brightness and atmosphere. On nights with calm seeing, you can push that limit and get the most out of your eyepieces. On restless nights, modest magnification often produces a sharper, more contrasty image.
Ocular types in practice
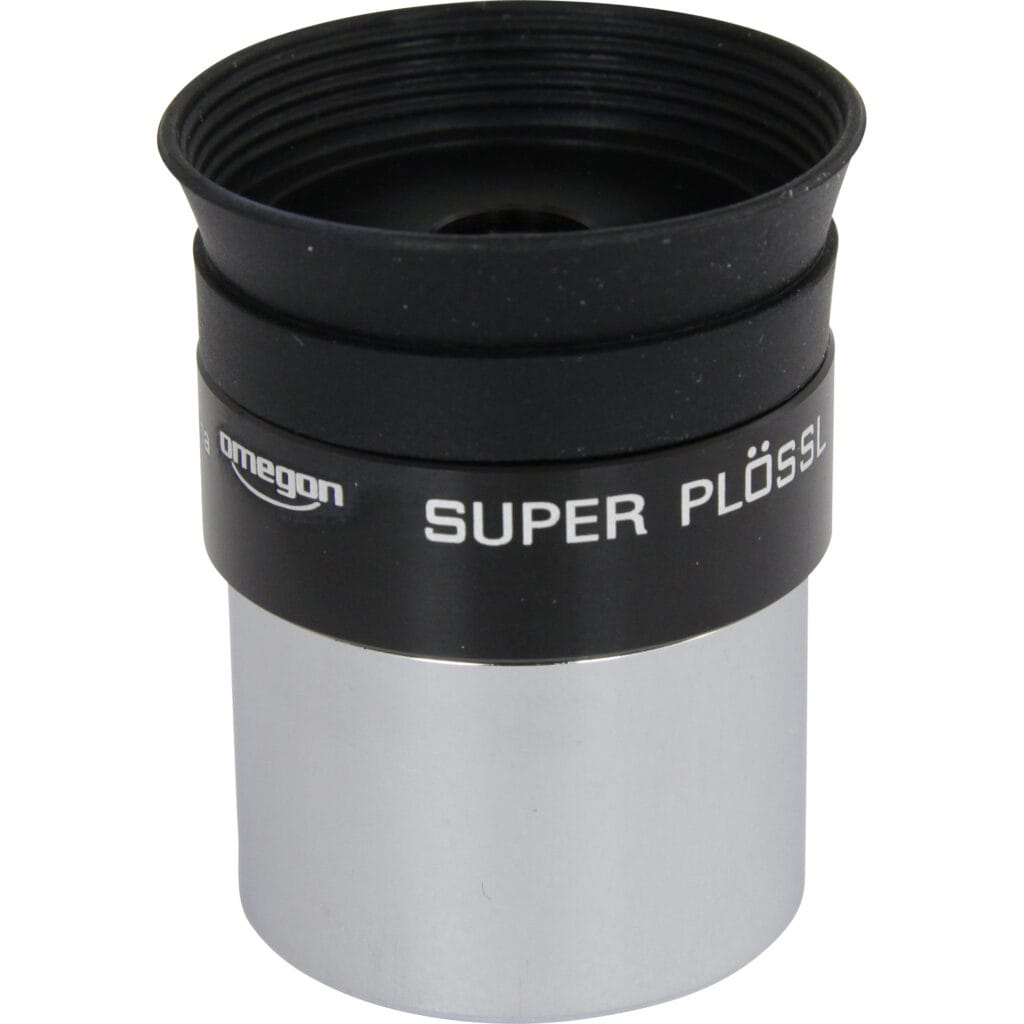
The Plössl design is the classic base: four lenses in two achromatic doublets. Cheap to produce, sharp image, but with a relatively narrow field of view (about 50°) and little eye relief at short focal lengths. Ideal for beginners or as a second eyepiece.
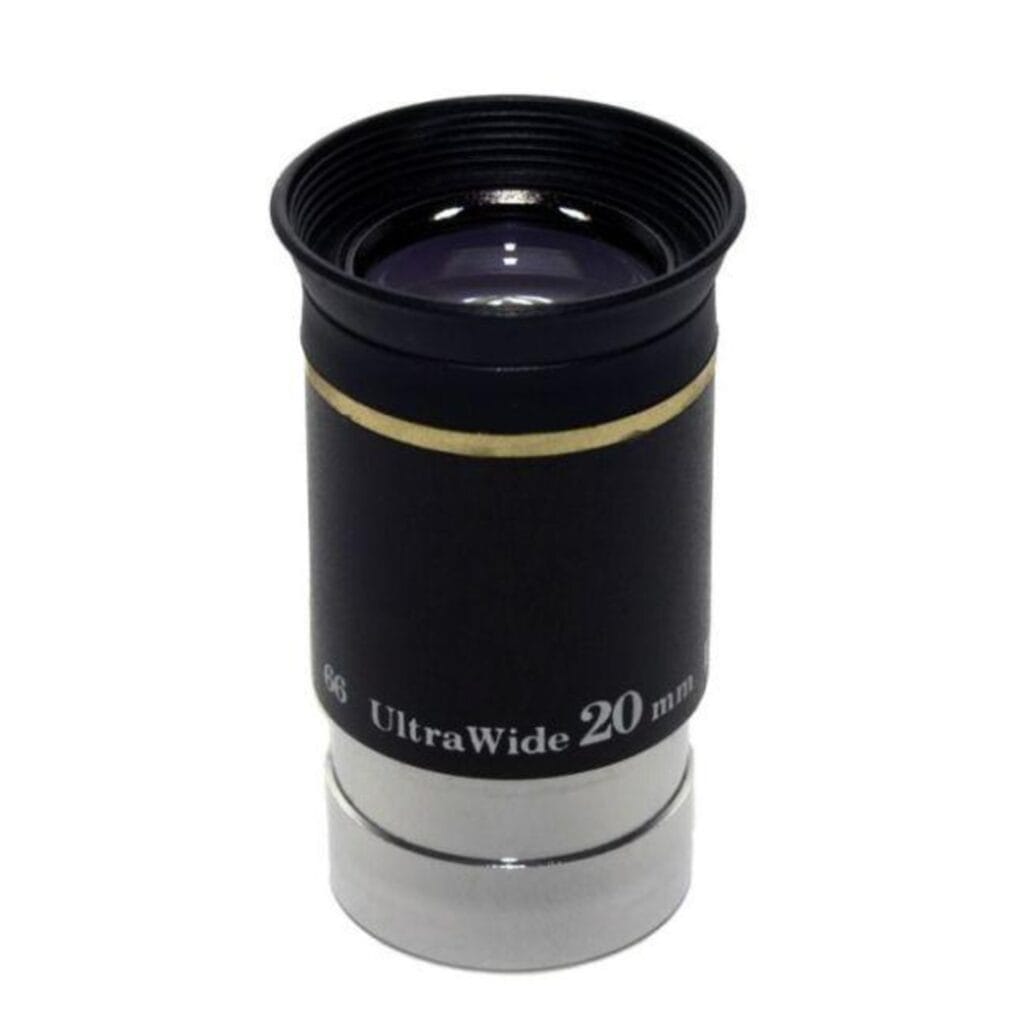
Widefield eyepieces extend that field to 68°, 82°, or even more. They contain more lens portions, but deliver an immersive experience ideal for deep-sky observation. Well-known examples are the Nagler or Panoptic types.
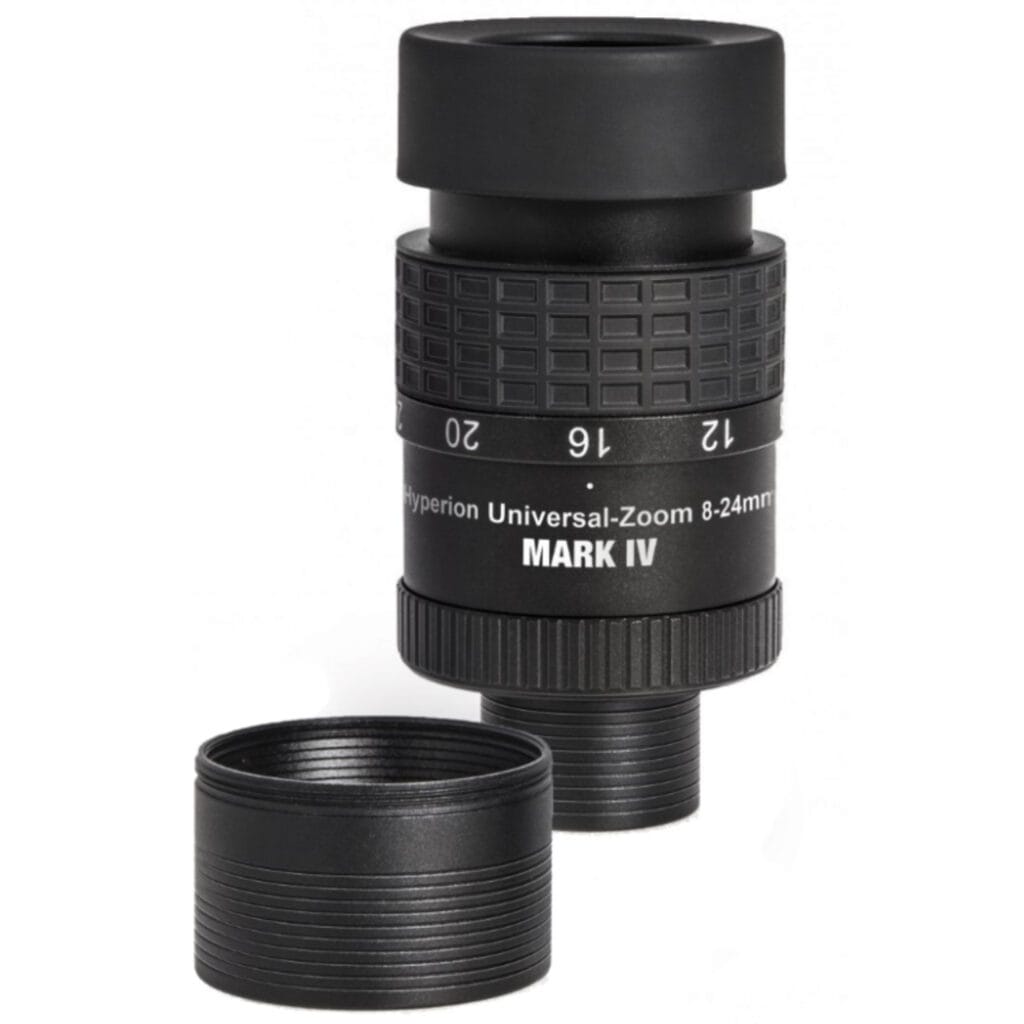
Zoom eyepieces combineren meerdere brandpunten in één behuizing. Handig als je snel wilt wisselen tussen vergrotingen zonder telkens van oculair te veranderen, bijvoorbeeld tijdens publieksavonden of bij variabele seeing. Let wel: aan het lange eind is het beeldveld smaller dan bij een los groothoekoculair.
Glass, protection and maintenance
An eyepiece is precision optics; take care of it that way. Store them in screw jars or a padded case, preferably with silica gel to reduce moisture. Clean them only when really necessary, excessive polishing wears down coatings. Use air blower, LensPen or microfiber cloth with special optical fluid. Avoid household detergents: they corrode the coating and create micro-scratches that cost contrast.
Smart combining for your telescope
Een uitgebalanceerde set bestaat uit drie brandpunten: één voor breedbeeld en zoeken, één middenweg voor de meeste deep-sky objecten, en één kort brandpunt voor planeten. Wil je die drie in één keer, kies dan een eyepiece set. Een goede barlow lens kan die reeks verdubbelen zonder merkbaar kwaliteitsverlies. Voeg een moon- of UHC filter and you have a versatile toolkit for every night.
Wie weet hoe brandpuntsafstand, exit pupil en beeldveld samenwerken, haalt alles uit zijn telescoop, ongeacht merk of model.
View our eyepieces for every type of telescope!
-
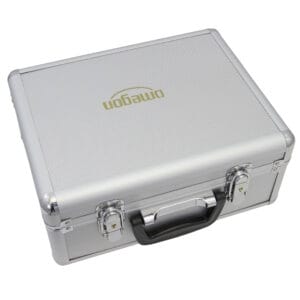
 Omegon Small Aluminum Transport Case79,00
 -
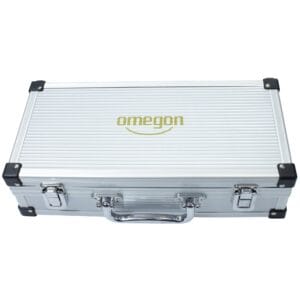
Omegon Eyepiece Case Large with 4 Eyepieces, Barlow, Filters, and Camera Adapter239,00
-
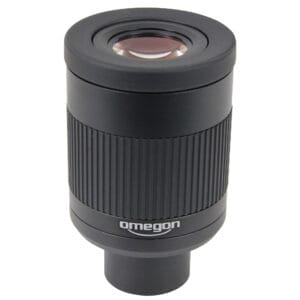
Omegon Premium Zoom Eyepiece 7.5-22.5mm Flatfield (1.25 inch)269,00
-
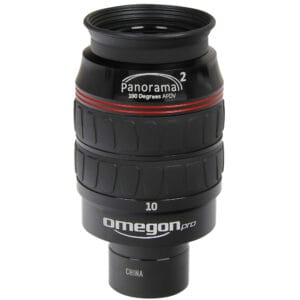
Omegon Panorama II 100º field of view eyepiecesPrice range: 229,00 through 269,00
-
Omegon UWA 9mm eyepiece - 66° wide angle59,00
-
Omegon Plössl 15mm Eyepiece (1.25 inch)29,90
-
Omegon Plössl 6.3mm Eyepiece (1.25 inch)29,90
-
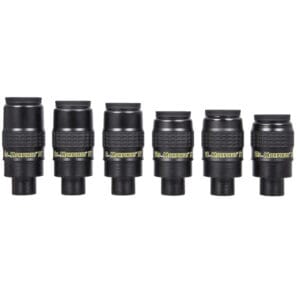
Baader Morpheus 76° Eyepieces: Premium Wide-Angle Series275,00