Astrophotography with smartphone is one of the most approachable ways to capture the Moon, planets and even bright nebulae by yourself. You don't need an expensive telescope for it, with a good telescope, a stable mount and a few clever settings you can already achieve impressive results. In this guide we explain step by step how to get started, what to watch out for and how to get the most out of your photos.
Why astrophotography with smartphone is so popular
Smartphone camera’s have become much more powerful in recent years. They have sensitive sensors, smart software and enough resolution to capture details you can barely see with the naked eye. Combine that with the magnification of a telescope and you can take close-ups of craters on the Moon or the rings of Saturn.
The biggest advantage? You can start with gear you partially already have. But there's one point to keep in mind: attaching your smartphone to a telescope sounds easier than it is.
The truth about smartphone holders
There are special holders that you clamp around the eyepiece and hold your phone in. In theory, these provide perfect alignment, but in practice it can be disappointing:
- Not every holder fits every eyepiece equally well.
- Even a small shift can make the image disappear.
- High magnifications also magnify vibration, one tap on the screen and your planet is out of focus.
That doesn't mean smartphone holders are useless. For the Moon or larger objects, they work fine, but for small planets or long exposures, you will have to adjust more often and need a lot of patience. Those who want serious results will find that dedicated astrocameras work a lot easier.
Choosing the right telescope
For the Moon and planets, models with a long focal length, such as a Maksutov or Schmidt-Cassegrain, ideal. They magnify more and give a lot of detail. If you also want to try deep-sky objects such as nebulae, then a simple Newton reflector with a larger aperture and shorter focal length is better suited.
Stability is crucial. A wobbly tripod or lightweight mount makes it virtually impossible to take sharp pictures, no matter how good your phone is.
Taking your first photos - settings and examples
The Moon is a perfect starting point. Put your smartphone in pro or manual mode, flash off, focus at infinity and ISO low (200-400). Use a short shutter speed, say 1/250 second, so that the Moon is not overexposed. Focus on the terminator (the dividing line between light and dark) for the most detail.
Planets are trickier because they are small and bright. Use a short focal length eyepiece or a quality Barlow lens. Take short videos rather than single photos, and use stacking software such as RegiStax to combine the sharpest images. This will give you much more detail in, for example, Jupiter's cloud bands or Saturn's rings.
Brighter deep-sky objects such as the Orion Nebula call for longer exposures. ISO around 800-1600, shutter speed 1to4 seconds, and preferably in a dark location away from street lights. Note that due to Earth's rotation, stars will ‘streak’ if exposures are too long.
What can and cannot be done with a smartphone
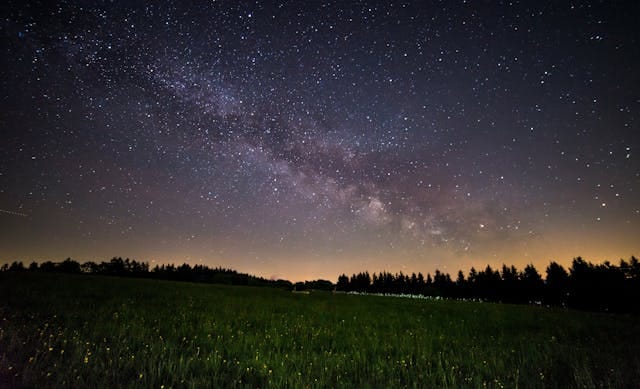
With a smartphone, you can take sharp and detailed photos of the Moon. You can also take faint photos of bright planets. The Milky Way is also super fun!

What does not work well are (very faint) deep-sky objects, planets or shots that collect extremely high light. For that the sensor of a smartphone is too small and the noise reduction too aggressive, sometimes the software sees stars as noise and filters them out. Special apps like NightCap (iOS) or Camera FV-5 (Android) give you more control and partially avoid that problem.
Small improvements that make a lot of difference
A moon filter prevents overexposure and brings more contrast to craters. For planets, color filters can reveal subtle textures. A simple Bluetooth remote control or the timer function on your phone helps prevent vibrations, important at higher magnifications.
And always let your telescope acclimate: put it outside at least half an hour beforehand, so that the warm air in the tube does not cause vibrations in the image.
Post-processing - getting more out of your recordings
Even a good photo can often be made even better with post-processing. Apps like Snapseed or free programs like GIMP let you subtly adjust contrast, brightness and sharpness. For videos of planets, stacking software is essential: by combining hundreds of frames, you get much more detail and less noise. The difference can be spectacular where a single photo shows only some blurred bands on Jupiter, a stacked image shows multiple layers and color differences.
Astrophotography without a telescope - is that possible too?
Yes. You can take great pictures of the Moon, constellations and even the Milky Way with just a smartphone and a tripod. Put your camera in pro mode, choose a higher ISO (800-1600) and a shutter speed of 5-15 seconds. The longer the exposure, the more stars will become visible, but be aware that if the exposure is too long, they will move due to the rotation of the Earth, so you will probably get star trails.
Without a telescope you miss the extreme close-ups of planets, but it's a great way to get started. Many people get the hang of it this way and then switch to a telescope.
Seasonal opportunities
In winter, the Orion Nebula and Pleiades are high in the sky - ideal for short exposures with a smartphone. In summer, you can see Saturn and sometimes the core of the Milky Way (from dark locations). In autumn and spring, Jupiter and Mars are often favorably visible. By planning with the seasons, you'll make the most of the possibilities your phone offers.
In conclusion
Astrophotography with smartphone is fun, educational and a great first step into the world of stargazing. Don't expect results like those from professional astrophotographers or with a smart telescope, but be prepared to experiment and learn. With the right telescope, a stable setup and some practice, you can make images you'll be proud of.
Wondering what you need to get started? Discover our range of smartphone holders, filters and suitable telescopes at telescope.com! Want to take it a step further? Go for a smart scope!