Viewing the sun through a telescope is spectacular. You see not only a brightly burning disk, but also sunspots, fine structures and, with special equipment, huge fiery bursts. But there is one thing that always comes first: safety. Unprotected viewing of the sun through a telescope can cause permanent blindness. This article tells you how to look safely, what details you can see and how to photograph the sun as well, whether you use a smartphone or a dedicated astro-camera.
Is it dangerous to view the sun through a telescope?
Yes, without proper protection it is extremely dangerous. A telescope concentrates sunlight just like a magnifying glass, increasing its intensity hundreds of times. One second of unprotected viewing can permanently damage the retina. Ordinary sunglasses or makeshift filters do not help: they block bright light, but not the harmful UV and infrared radiation.
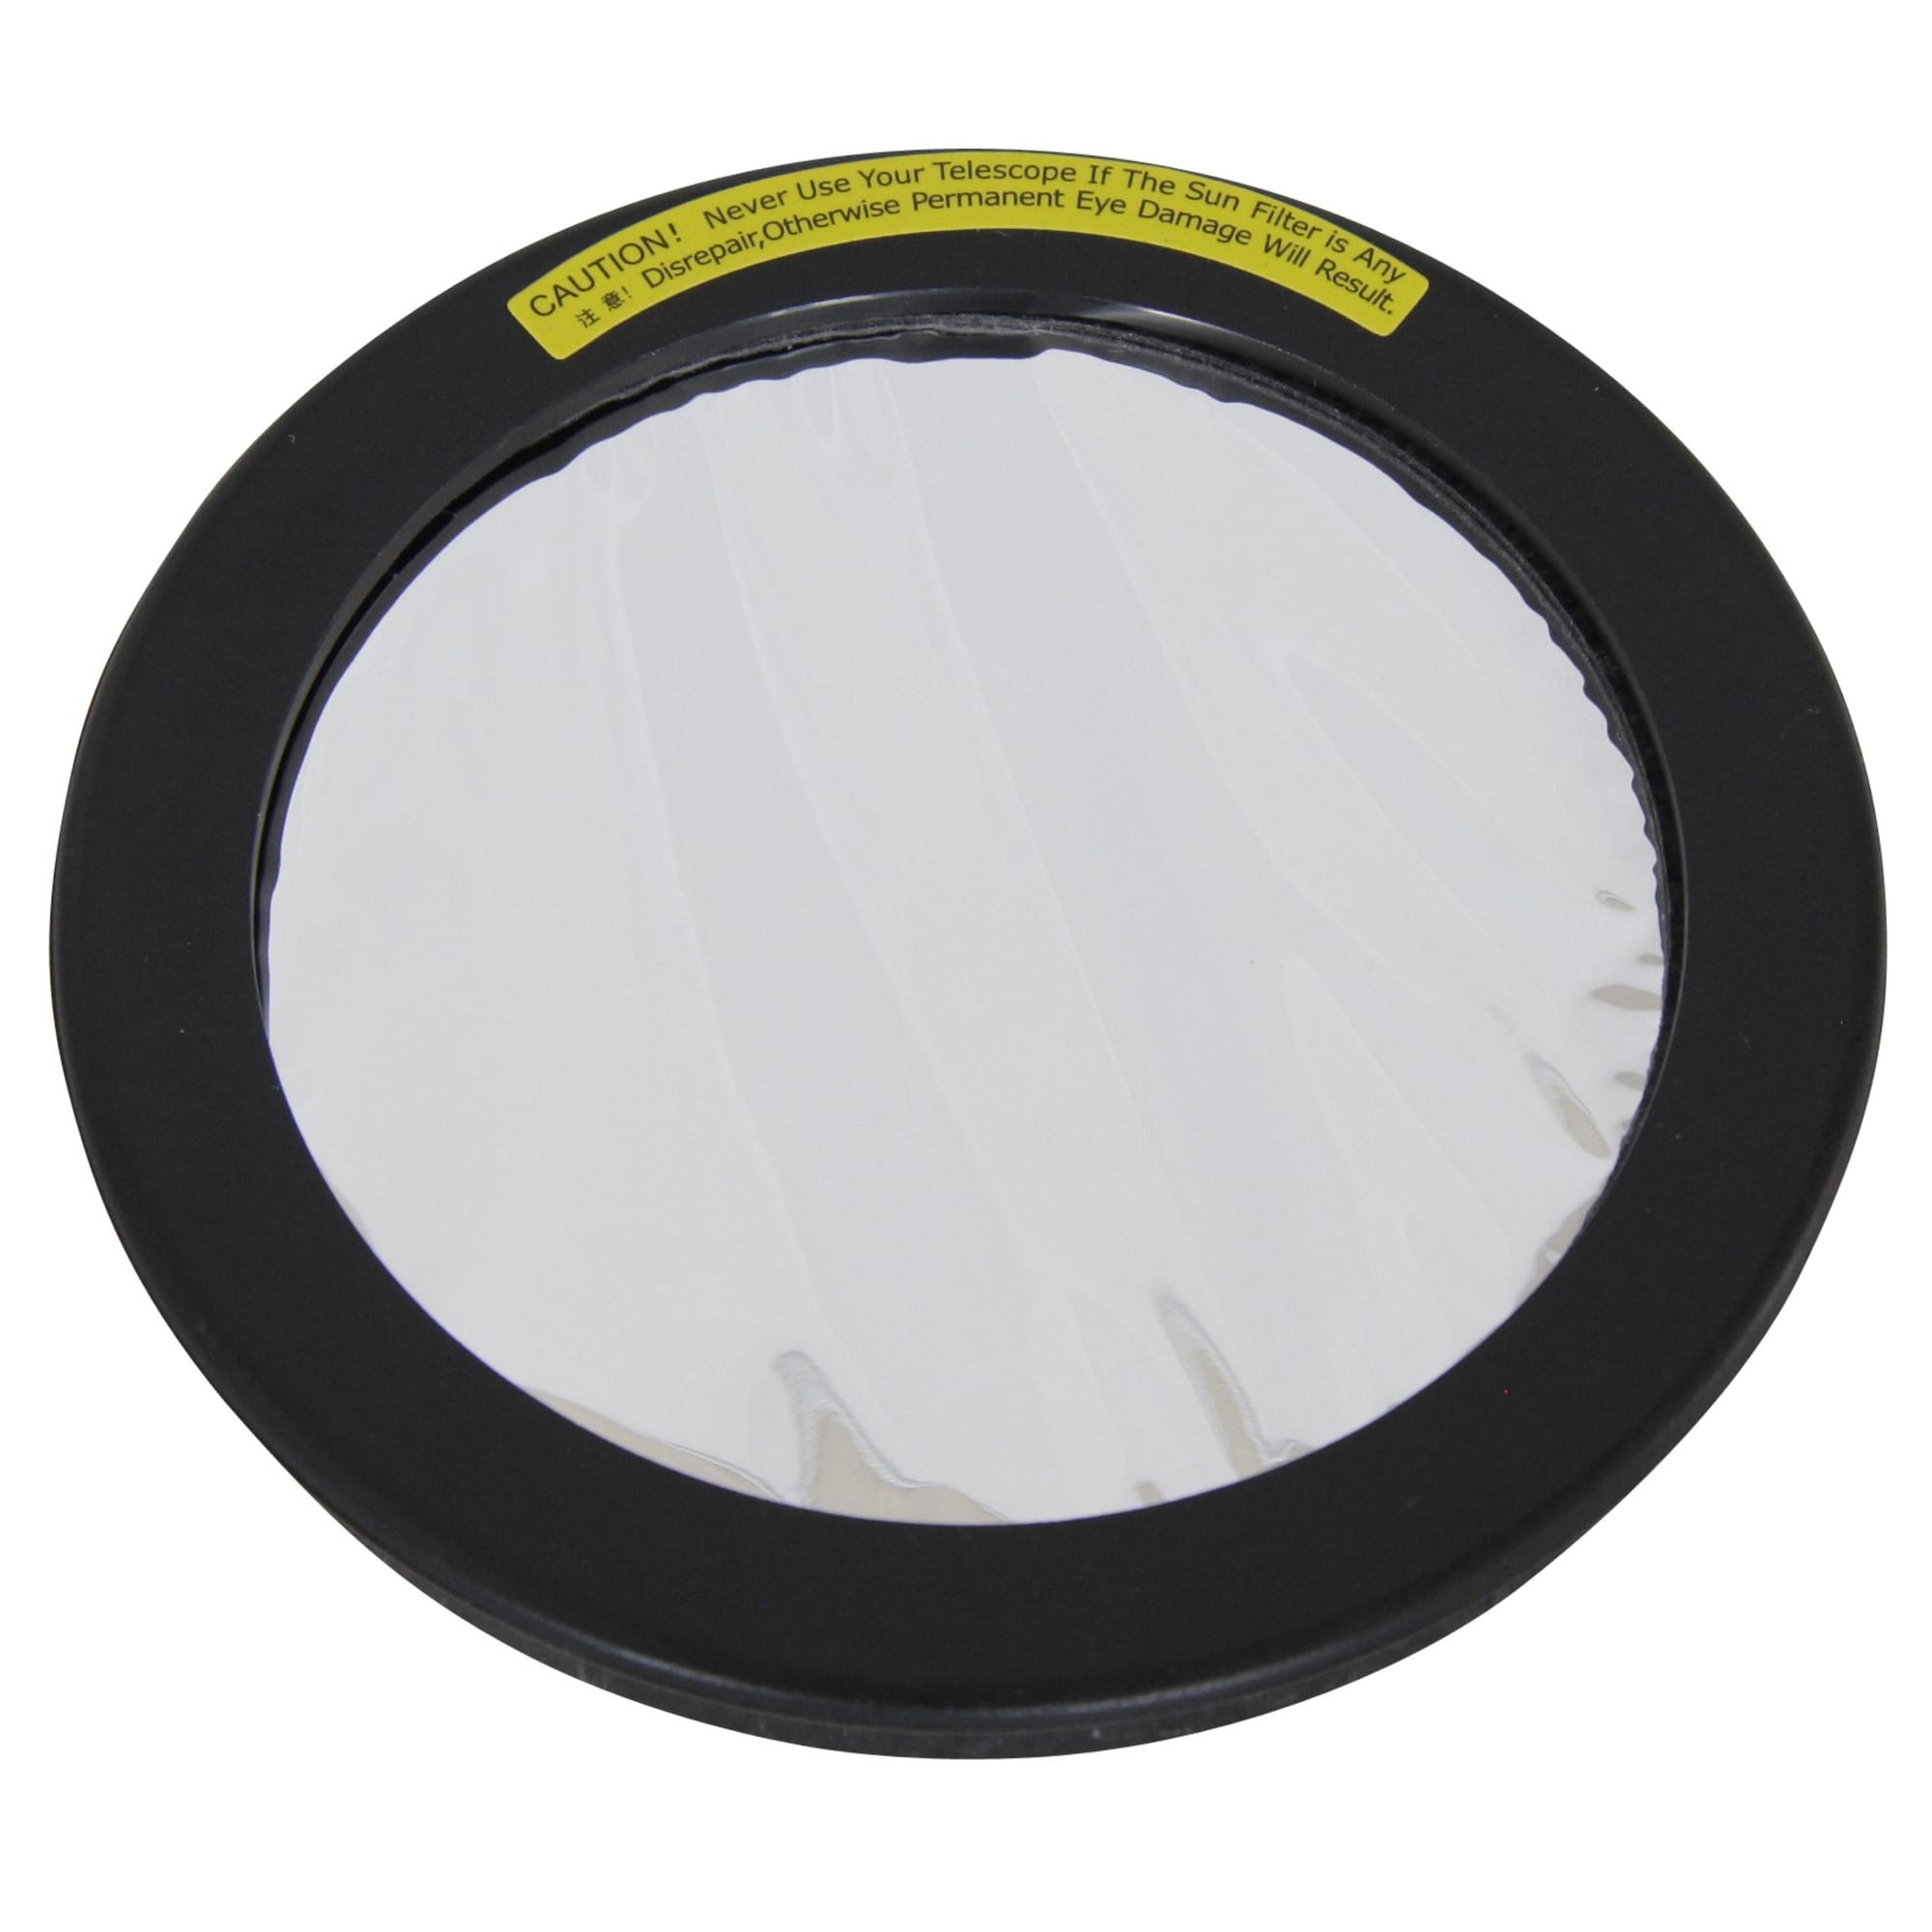
That's why you always use a certified sunscreen which filters light even before the telescope opens. These filters reduce sunlight to safe levels and block harmful radiation.
How do you safely view the sun through a telescope?
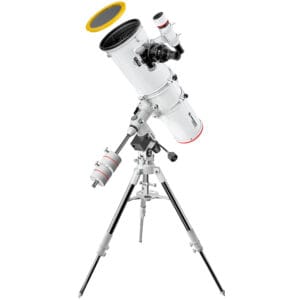
The safest method is a full front filter that fits over the front of your telescope. Choose a model that meets the international safety standard ISO 12312-2 (we only sell these). These filters let only a fraction of sunlight through and are designed specifically for optical instruments.
Popular examples:
- White light filters from Baader or Omegon for general observation of sunspots and the grainy texture of the solar surface.
- H-alpha telescopes or filters for viewing prominences, flare fields and solar flares in the chromosphere.
Note that you always mount a filter at the front of the telescope, never behind the eyepiece. Filtering behind can crack parts due to heat buildup and is dangerous to your eyes.
What can you see when you look at the sun through a telescope?


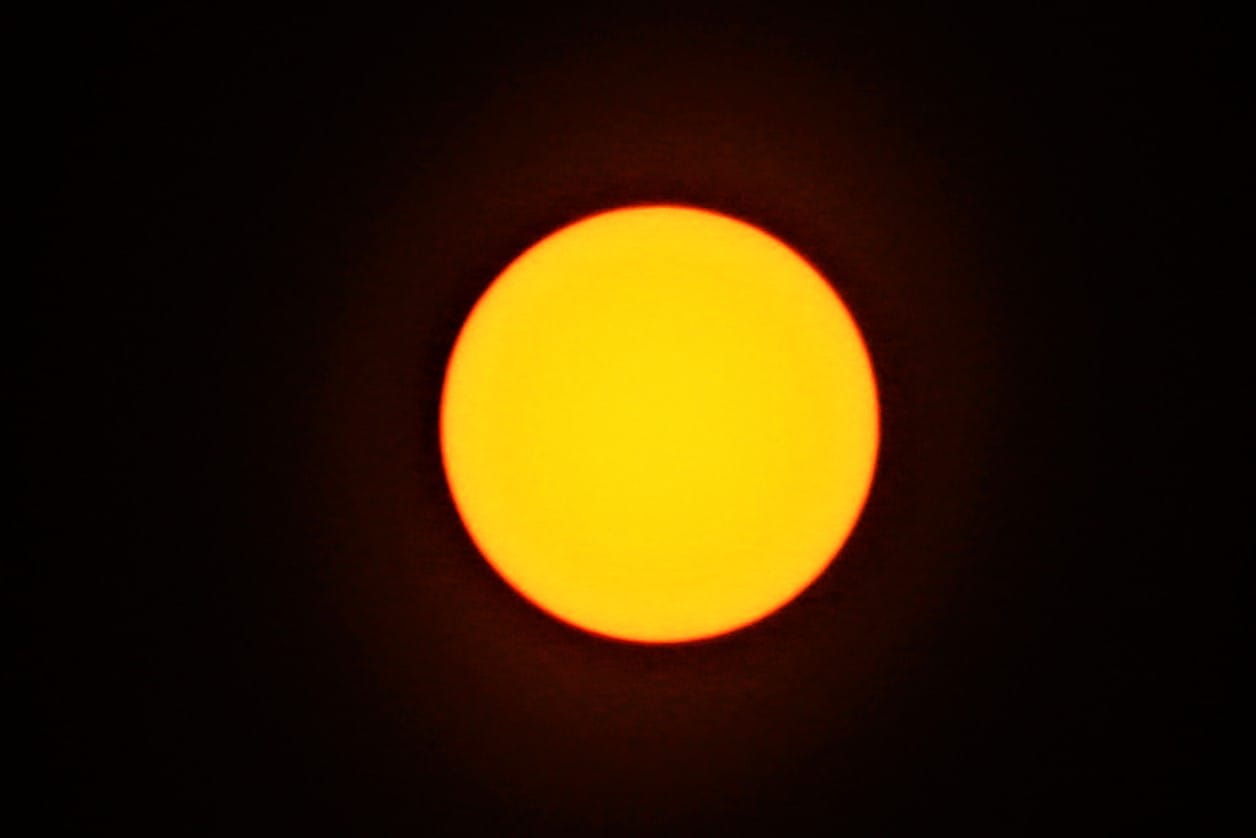
With a white-light filter, you can see the photosphere, the visible outer layer of the sun. You recognize:
- Sunspots: dark, cooler spots caused by strong magnetic fields.
- Penumbra and umbra: the lighter and darker parts within a sunspot.
- Granulation: a granular structure due to bubbling plasma.
With an H-alpha filter, you get a different image. You see the chromosphere, where prominences rise above the rim like fiery loops. Sometimes you can see flare fields or bright strips near sunspots, caused by local heating.
How do you point your telescope at the sun?
Never look directly at the sun for aiming. Instead, use:
- A sunseeker (solar finder) that projects the light onto a small screen.
- The shadow of your telescope: if it is as small as possible, your telescope is well-aimed.
Start with low magnification (20-30x) to get the sun in focus. Then increase step by step depending on the seeing (air vibration).
Photographing the sun - the basics
Photographing the sun through a telescope can be done with three types of cameras:
- Smartphone - convenient and fast, especially when combined with a sturdy smartphone holder.
- DSLR/mirrorless - more control over exposure and sharpness.
- Astro camera - highest detail, often in conjunction with stacking software.
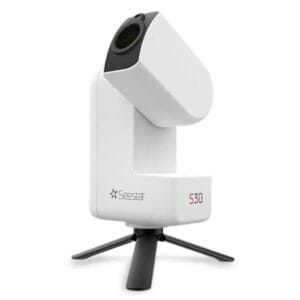
- Safest way: a smart scope
As with visual viewing, always use a solar filter on the telescope. Without a filter, you can also damage the camera sensor.
Settings for solar photography
With smartphone:
- Use pro or manual mode.
- Focus on infinity.
- ISO around 50-200 for white light, slightly higher for H-alpha.
- Shutter speed between 1/500 and 1/2000 second depending on brightness.
With DSLR/mirrorless:
- Manual exposure.
- Low ISO (100-200).
- Shutter speed 1/500-1/2000 second.
- Use live view to focus and reduce heat on the sensor.
With astro-camera:
- Short exposure (in milliseconds) for white light.
- Record higher number of frames for stacking.
- Specific software such as FireCapture or SharpCap for recording, RegiStax or AutoStakkert for stacking.
What can you photograph?
- Sunspots - Details in the penumbra become visible with good seeing.
- Faculae - bright spots near sunspots.
- Protuberances - best seen in H-alpha, spectacular arcs and bursts.
- Granulation - visible in calm air and high resolution.
Alternative methods: projection
Do you still want to safely view the sun without a filter? Then you can use a projection method use:
- Use a small refractor or a telescope with a covered aperture.
- Point the telescope at the sun without looking into it.
- Place a white screen behind the eyepiece and focus on the projected image.
This method is especially useful for educational demonstrations and for showing sunspots to several people at once.
Common mistakes to avoid
- Unprotected viewing: even a quick glance can cause irreparable damage.
- Using a filter behind the eyepiece: these may crack due to heat.
- Forgot to check filter: inspect for scratches or holes before use.
- Choosing too high magnification in poor seeing: this produces a blurred image.
When is the sun most beautiful to view or photograph?
Surprisingly, the best times are often in the early morning or late afternoon, when the air is calmer and the seeing is better. In the middle of the day, warm rising air often causes shaky images.
Also, the sunspot cycle plays a part. It lasts about 11 years and determines how many active areas you see. In active years, more spots and prominences are visible.
Conclusion
Viewing the sun through a telescope is one of the most impressive experiences for any stargazer. With the right filter and precautions, you can see details that remain invisible to the naked eye. Photography adds another dimension: you capture the changing nature of our star and can share or compare images over time.
Want to get started yourself? View our product range sun filters, H-alpha telescopes and accessories. So enjoy the most powerful star in our solar system safely and with maximum detail.

