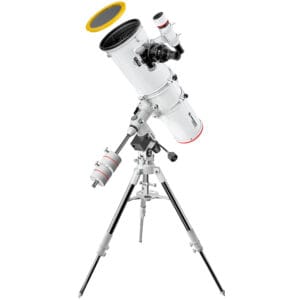
Telescope collimation is the adjustment of the mirrors in a Newton or Dobson telescope so that the image is razor sharp. Without collimation, your telescope will not operate at full power. Fortunately, it doesn't have to be difficult: with the right tools, it can be done in minutes, even for beginners.
What is telescope collimation?
In a reflector telescope, everything works with mirrors:
- The primary mirror captures the light at the bottom of the tube
- The secondary mirror sends it to the eyepiece
If those mirrors are not perfectly matched, you see:
✗ Blurry images
✗ Poor contrast
✗ Distorted stars or rings
Collimation ensures that everything is optically aligned. It is essential for planetary detail, sharpness in deep-sky objects and good astrophotos.
Is collimation complicated?
No. As long as you use good tools, it's actually easy AND fast. Most problems arise when people try it with the naked eye or with a plastic cap. We advise against that. Rather use one of these two:
1. Collimating with a Cheshire
A Cheshire eyepiece is a handy little metal tube that you plug into the eyepiece mount. You look through it and immediately see if your mirrors are in the right position. Ideal for beginners and advanced users.
Advantages:
✓ No batteries required
✓ Simple visual inspection
✓ Suitable for f/6 to f/8 telescopes (standard with Dobsons)
You adjust the secondary mirror first (center it under the eyepiece), and then the primary mirror (so that the mirror clips are nicely symmetrical). A Cheshire makes that clear.
2. Collimating with a laser
Want it even faster, or do you have a fast telescope (f/4 - f/5)? Then a laser collimator the best choice. You insert the laser into the eyepiece mount, and adjust the mirrors so that the laser returns exactly to its starting point.
✅ Raging control
✅ Also usable in the dark
✅ Perfect for those who want maximum sharpness of image
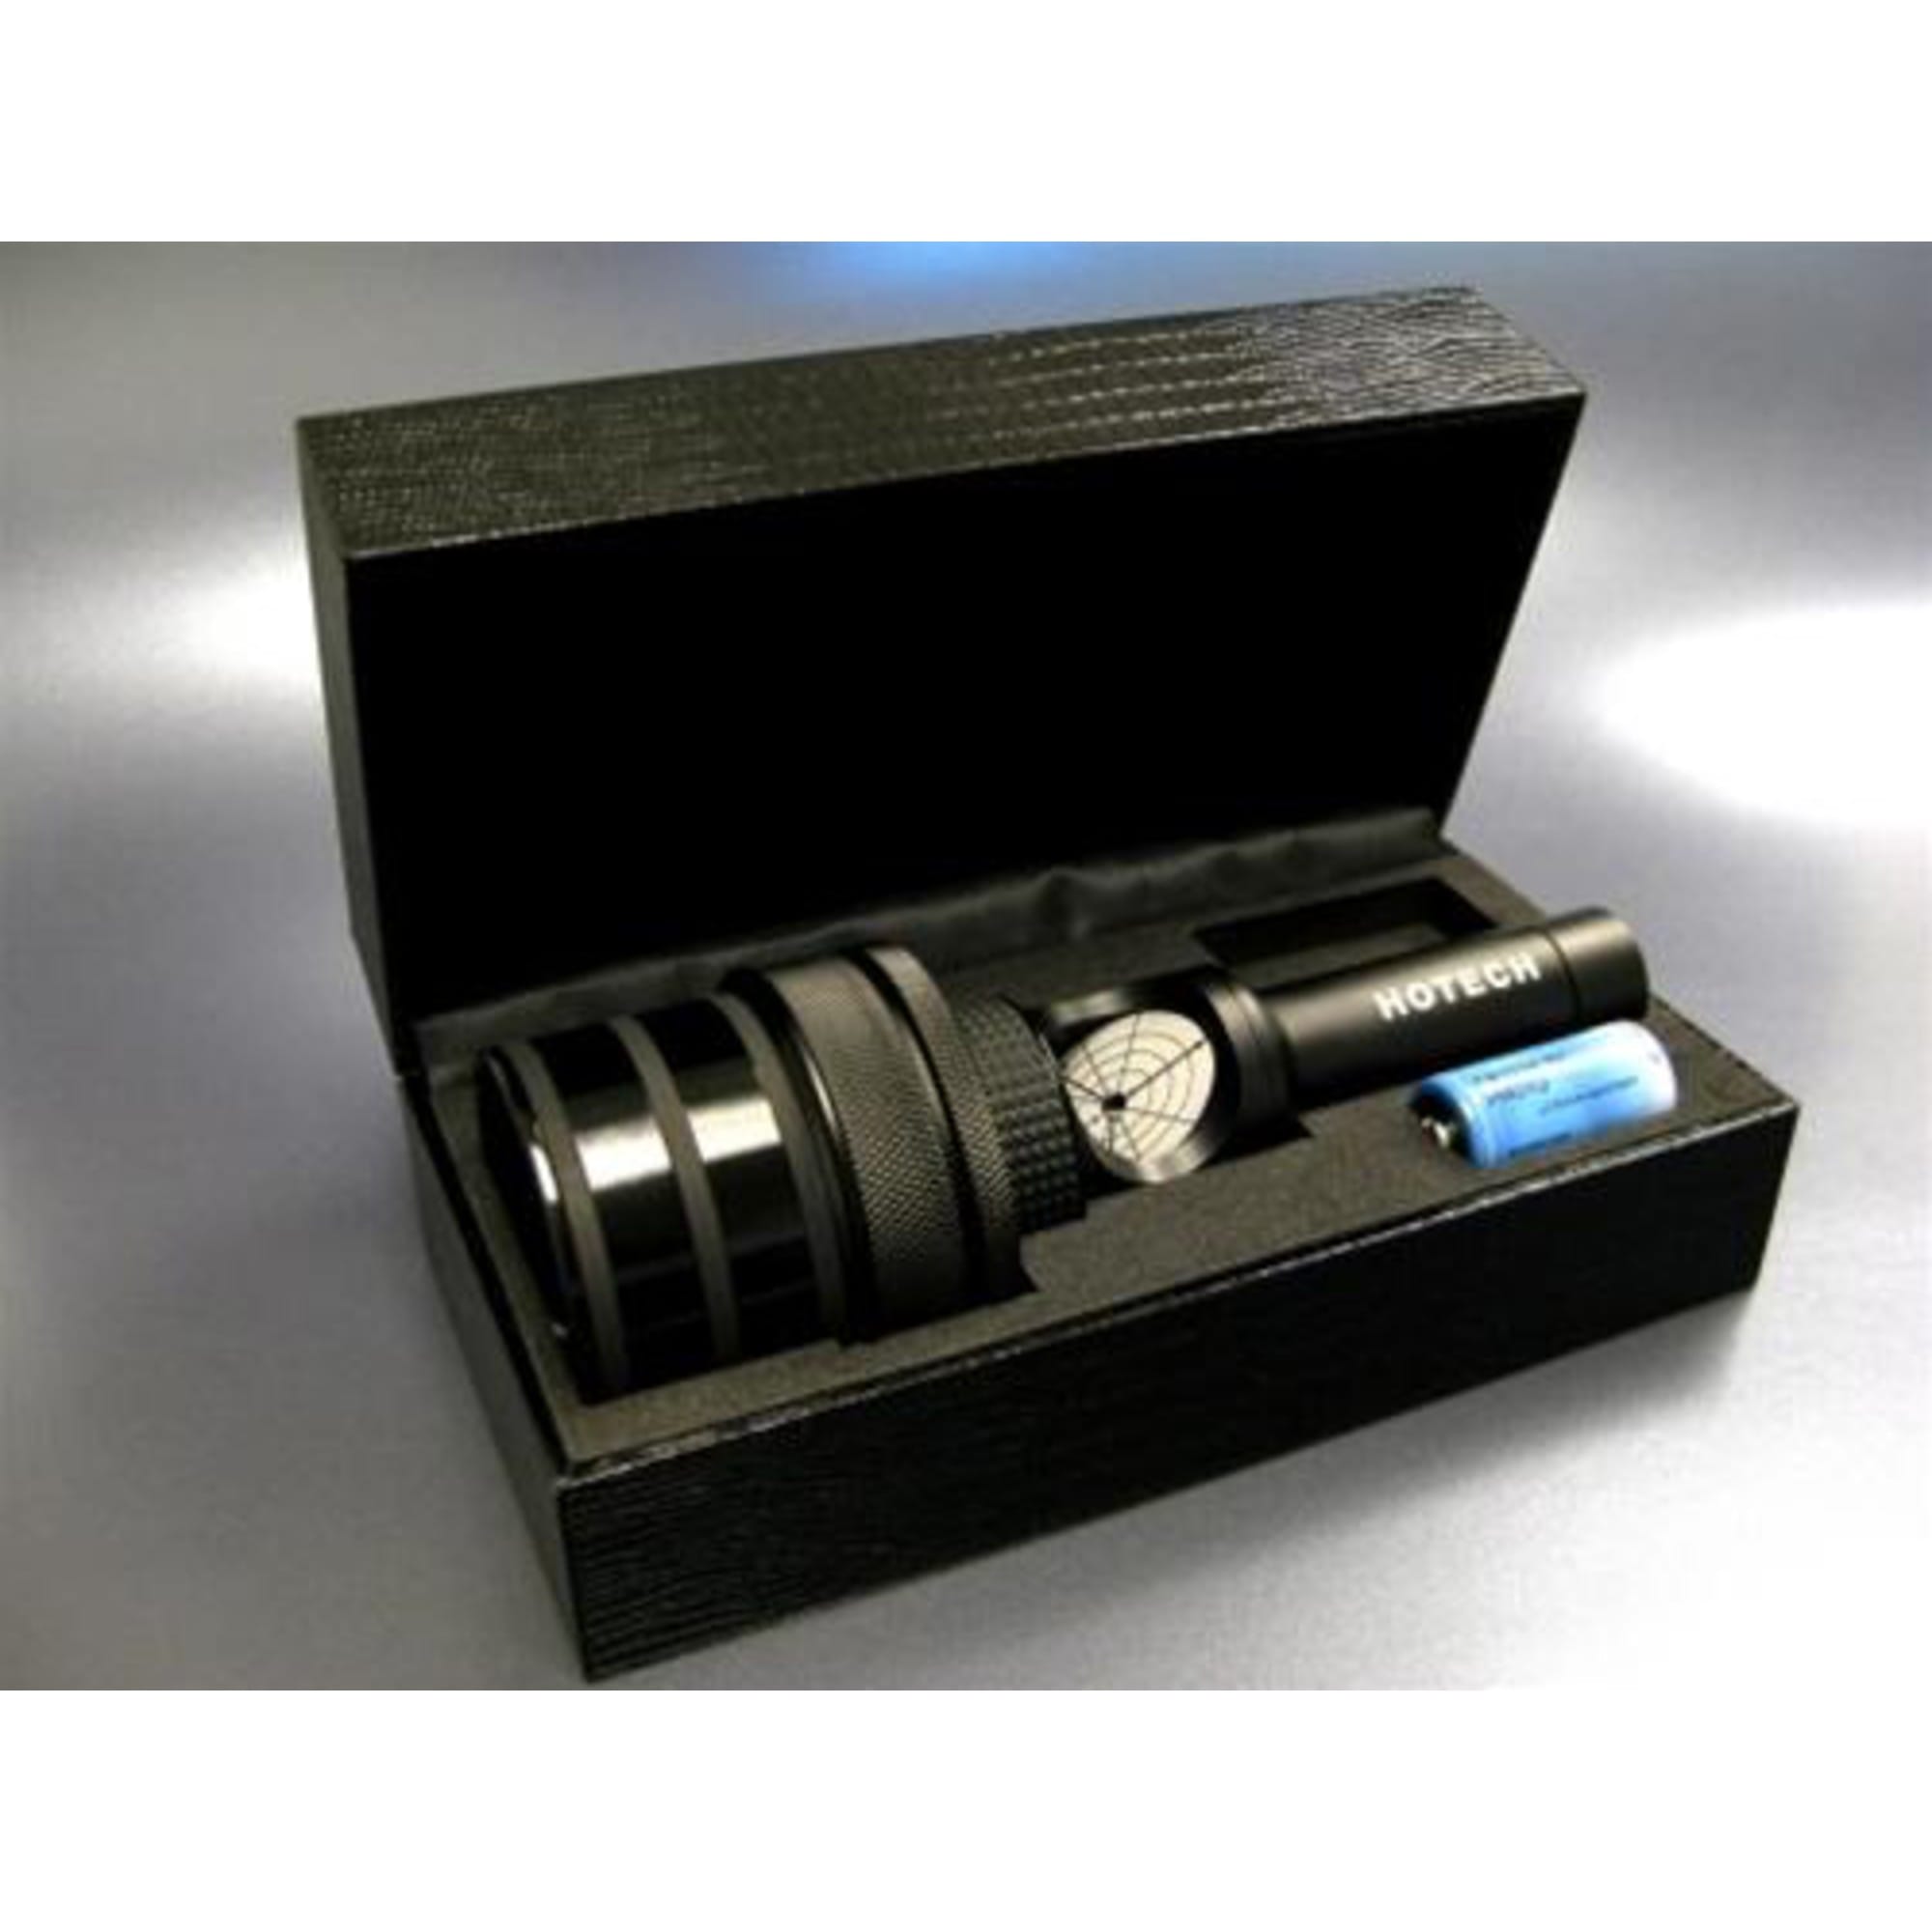
Recommended: the HoTech SCA laser collimator. It automatically clamps itself without backlash, so it is always exactly centered. This makes it more reliable than cheaper lasers.
This is how to collimate your telescope with a laser, step by step
1. Set up your telescope stably
Make sure the tube is upright or slightly inclined, with a good view of the main mirror. Put it on a solid surface.
2. Place the laser collimator in the eyepiece holder.
Use a self-centering laser (such as the HoTech) so that it is perfectly centered - this prevents erroneous measurements.
3. Aim the laser at the primary mirror
You will see a little red dot appear on the main mirror. In the center of that mirror is a small ring (the collimation ring).
→ Target: bring the laser beam exactly to the center of that ring.
4. Adjust the secondary mirror
Use the Allen screws on the spider (the holder of the small mirror). Turn carefully until the laser passes exactly through the center of the main mirror.
5. Now look at the return image on the laser itself
The laser beam reflects back to the laser through the main mirror.
→ Target: the returning dot should coincide exactly with the starting point on the laser.
6. Adjust the primary mirror
Use the collimation knobs on the back of the telescope to tilt the mirror very slightly. Rotate until the dot exactly coincides with the return point on the laser.
7. Ready? Check everything one more time.
Move the tube up and down a little. If the laser dot does not move, everything is properly aligned.
Which tool suits you?
| Tool | For whom | Features |
|---|---|---|
| Cheshire | Beginners & gevorderden | Simpel, passief, altijd betrouwbaar |
| HoTech laser | Iedereen | Snel, secuur, ook bij snelle telescopen |
Gebruik je beide? Dan heb je altijd een dubbele check. Veel fanatieke gebruikers starten met een laser en controleren met een Cheshire.
Tips voor perfect resultaat
✓ Laat je telescoop 30 minuten afkoelen buiten
✓ Zet hem stabiel neer voor je begint
✓ Begin altijd met de secondary mirror (klein, diagonaal)
✓ Stel daarna de primary mirror af (grote knoppen onderaan)
Waarom is collimatie zo belangrijk?
✓ Planeten: details zoals wolkenbanden op Jupiter of de Cassini-scheiding in Saturnus worden veel duidelijker
✓ Deep-sky objects: sterrenhopen, nevels en sterrenstelsels blijven scherp tot aan de rand
✓ Astrophotography: scherpte en contrast verbeteren zichtbaar
Een slecht gecollimeerde telescoop levert maar een fractie van de prestaties waarvoor je hebt betaald. En dat is zonde, zeker als het collimeren zó eenvoudig kan.
Conclusie: telescoop collimatie is eenvoudig met de juiste tool
Telescoop collimatie hoeft geen gedoe te zijn. Met een Cheshire of een HoTech laser heb je binnen 5 minuten je telescoop weer perfect uitgelijnd. En dat merk je direct in het beeld. Geen wazige randen meer, geen frustratie maar gewoon scherp zicht op planeten, de maan en deep-sky objecten.
→ Meer weten? View our collimatiehulpmiddelen en accessoires op Telescoop.nl en ontdek wat het beste past bij jouw telescoop.