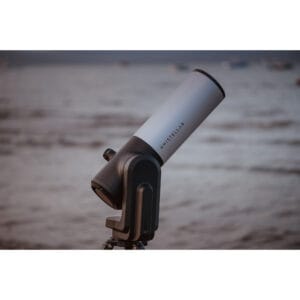
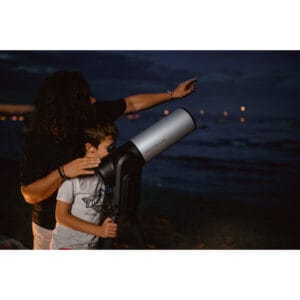
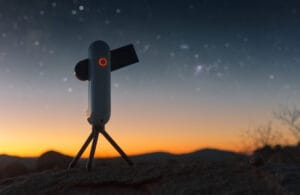
Aligning a telescope is one of the most important steps for anyone who wants to observe the universe clearly. Whether you want to view the moon’s craters, Saturn’s rings, or a distant nebula—without proper alignment, your image remains blurry or unstable.
In this practical guide, we explain how to optimally set up your telescope. This applies to both beginners and advanced observers.
1. Start with the Right Location for Observing Deep Sky Objects
A good observation starts with where you place your telescope. Light pollution, atmospheric turbulence, and obstacles can severely affect image quality. Light pollution matters less for planets
Tips for an optimal observation location:
- Find dark spots: Get away from city lights. Places with minimal artificial light provide much better views of the night sky.
- Check the conditions: Use apps like Clear Outside or MeteoBlue to check clouds, seeing, and humidity.
- Choose the right time: The atmosphere is often most stable just after sunset or before sunrise.
2. Ensure a Stable Telescope Setup
Even a perfectly aligned telescope will produce poor images if the tripod is unstable or the ground is vibrating.
How to prevent vibrations:
- Use a robust tripod, preferably metal or with adjustable legs.
- Place your telescope on flat, soft ground like grass or soil.
- Add weight to the tripod with a weight or sandbag for extra stability.
- Avoid hard surfaces like tiles or concrete that amplify vibrations.
3. Properly Align Finder and Focus
Now that your telescope is stable, it’s time to ensure you can easily find objects and get sharp images.
Finder Alignment:
- During daylight, aim your telescope at a stationary object, like a pole or chimney.
- Ensure this object is exactly centered in the eyepiece.
- Then adjust the finder so it shows the same point.
- Check again in the evening with a bright star or planet.
Focusing:
- Use a bright object (moon, bright star) to focus.
- Slowly turn the focus knob until the image is sharp.
- Use a high-quality eyepiece – cheap eyepieces can degrade the image.
4. Collimation: Precisely Aligning Mirrors
For reflecting telescopes (like Newtonian reflectors), collimation is crucial. This is the alignment of internal mirrors so the light path converges perfectly.
Performing Collimation:
- Use a collimation eyepiece or laser collimator.
- Check if the primary mirror’s reflection is centered.
- Adjust the collimation screws in small increments.
Note: Refractors (like the StellarVision) and smart telescopes (like the Seestar S50 or Vespera II) typically don’t need collimation.
5. Final Fine-Tuning for Perfect Vision
Even after alignment, small issues can arise. Here are some common issues and their solutions:
| Problem | Solution |
|---|---|
| Blurry image | Check focus and use a better eyepiece |
| Image shaking due to wind | Use a wind shield or choose a sheltered location |
| Difficulty finding objects | Check finder alignment |
| Poor visibility | Avoid humid or turbulent air, check weather conditions |
Want to get more out of your observations? Check out our telescope selection guide or discover which accessories for stability and sharpness make the difference.
6. Let your Telescope Acclimatize
An often forgotten but crucial part of telescope alignment is letting your telescope acclimatize. Telescopes need time to adjust to the outside temperature. If your telescope just came from inside and it’s much colder outside, internal air currents and temperature differences can cause distorted images. Especially with reflector telescopes, you’ll see a kind of trembling or dancing image.
🔹 Here’s how:
- Set up your telescope outside at least 30 to 60 minutes before use.
- Remove the optical caps to allow air to flow freely.
- Use a fan (for larger mirrors) to cool down the primary mirror faster.
This is often sufficient for visual observations. For astrophotography, stable temperature equilibrium is even essential for sharp images. This simple part of your routine can significantly improve your image quality—without having to adjust the optics themselves.
Summary: how to Perfectly Align your Telescope
- Choose a dark, stable location with minimal light pollution.
- Ensure a sturdy tripod on level ground.
- Properly align your finder with your eyepiece.
- Perform collimation if you have a reflector.
- Optimize with good focus and fine-tuning.
🔭 Ready to explore the sky with crystal-clear images? By properly aligning your telescope, you’ll see more than ever before.


