Telescope collimation is the alignment of mirrors in a Newtonian or Dobsonian telescope to achieve a razor-sharp image. Without collimation, your telescope won’t perform at its full potential. Fortunately, it doesn’t have to be difficult: with the right tools, it can be done within minutes, even for beginners.
What is Telescope Collimation?
In a reflector telescope, everything works with mirrors:
- The primary mirror catches the light at the bottom of the tube
- The secondary mirror directs it to the eyepiece
If these mirrors aren’t perfectly aligned, you’ll see:
✗ Blurry images
✗ Poor contrast
✗ Distorted stars or rings
Collimation ensures everything is optically aligned. It’s essential for planetary details, sharpness in deep-sky objects, and quality astrophotography.
Is Collimation Complicated?
No. As long as you use proper tools, it’s actually easy and quick. Most problems occur when people try to do it by eye or with a plastic cap. We don’t recommend that. Instead, use one of these two options:
1. Collimating with a Cheshire
A Cheshire eyepiece is a handy metal tube that you insert into the eyepiece holder. Looking through it immediately shows if your mirrors are properly aligned. Perfect for both beginners and advanced users.
Advantages:
✓ No batteries needed
✓ Simple visual check
✓ Suitable for f/6 to f/8 telescopes (standard for Dobsonians)
First, you adjust the secondary mirror (centering under the eyepiece), then the primary mirror (to make the mirror clips symmetrical). A Cheshire makes this straightforward.
2. Collimating with a Laser
Want it even faster, or have a fast telescope (f/4 – f/5)? Then a laser collimator is the best choice. You insert the laser into the eyepiece holder and adjust the mirrors so the laser returns exactly to its starting point.
✅ Ultra-quick check
✅ Usable in the dark
✅ Perfect for those wanting maximum sharpness
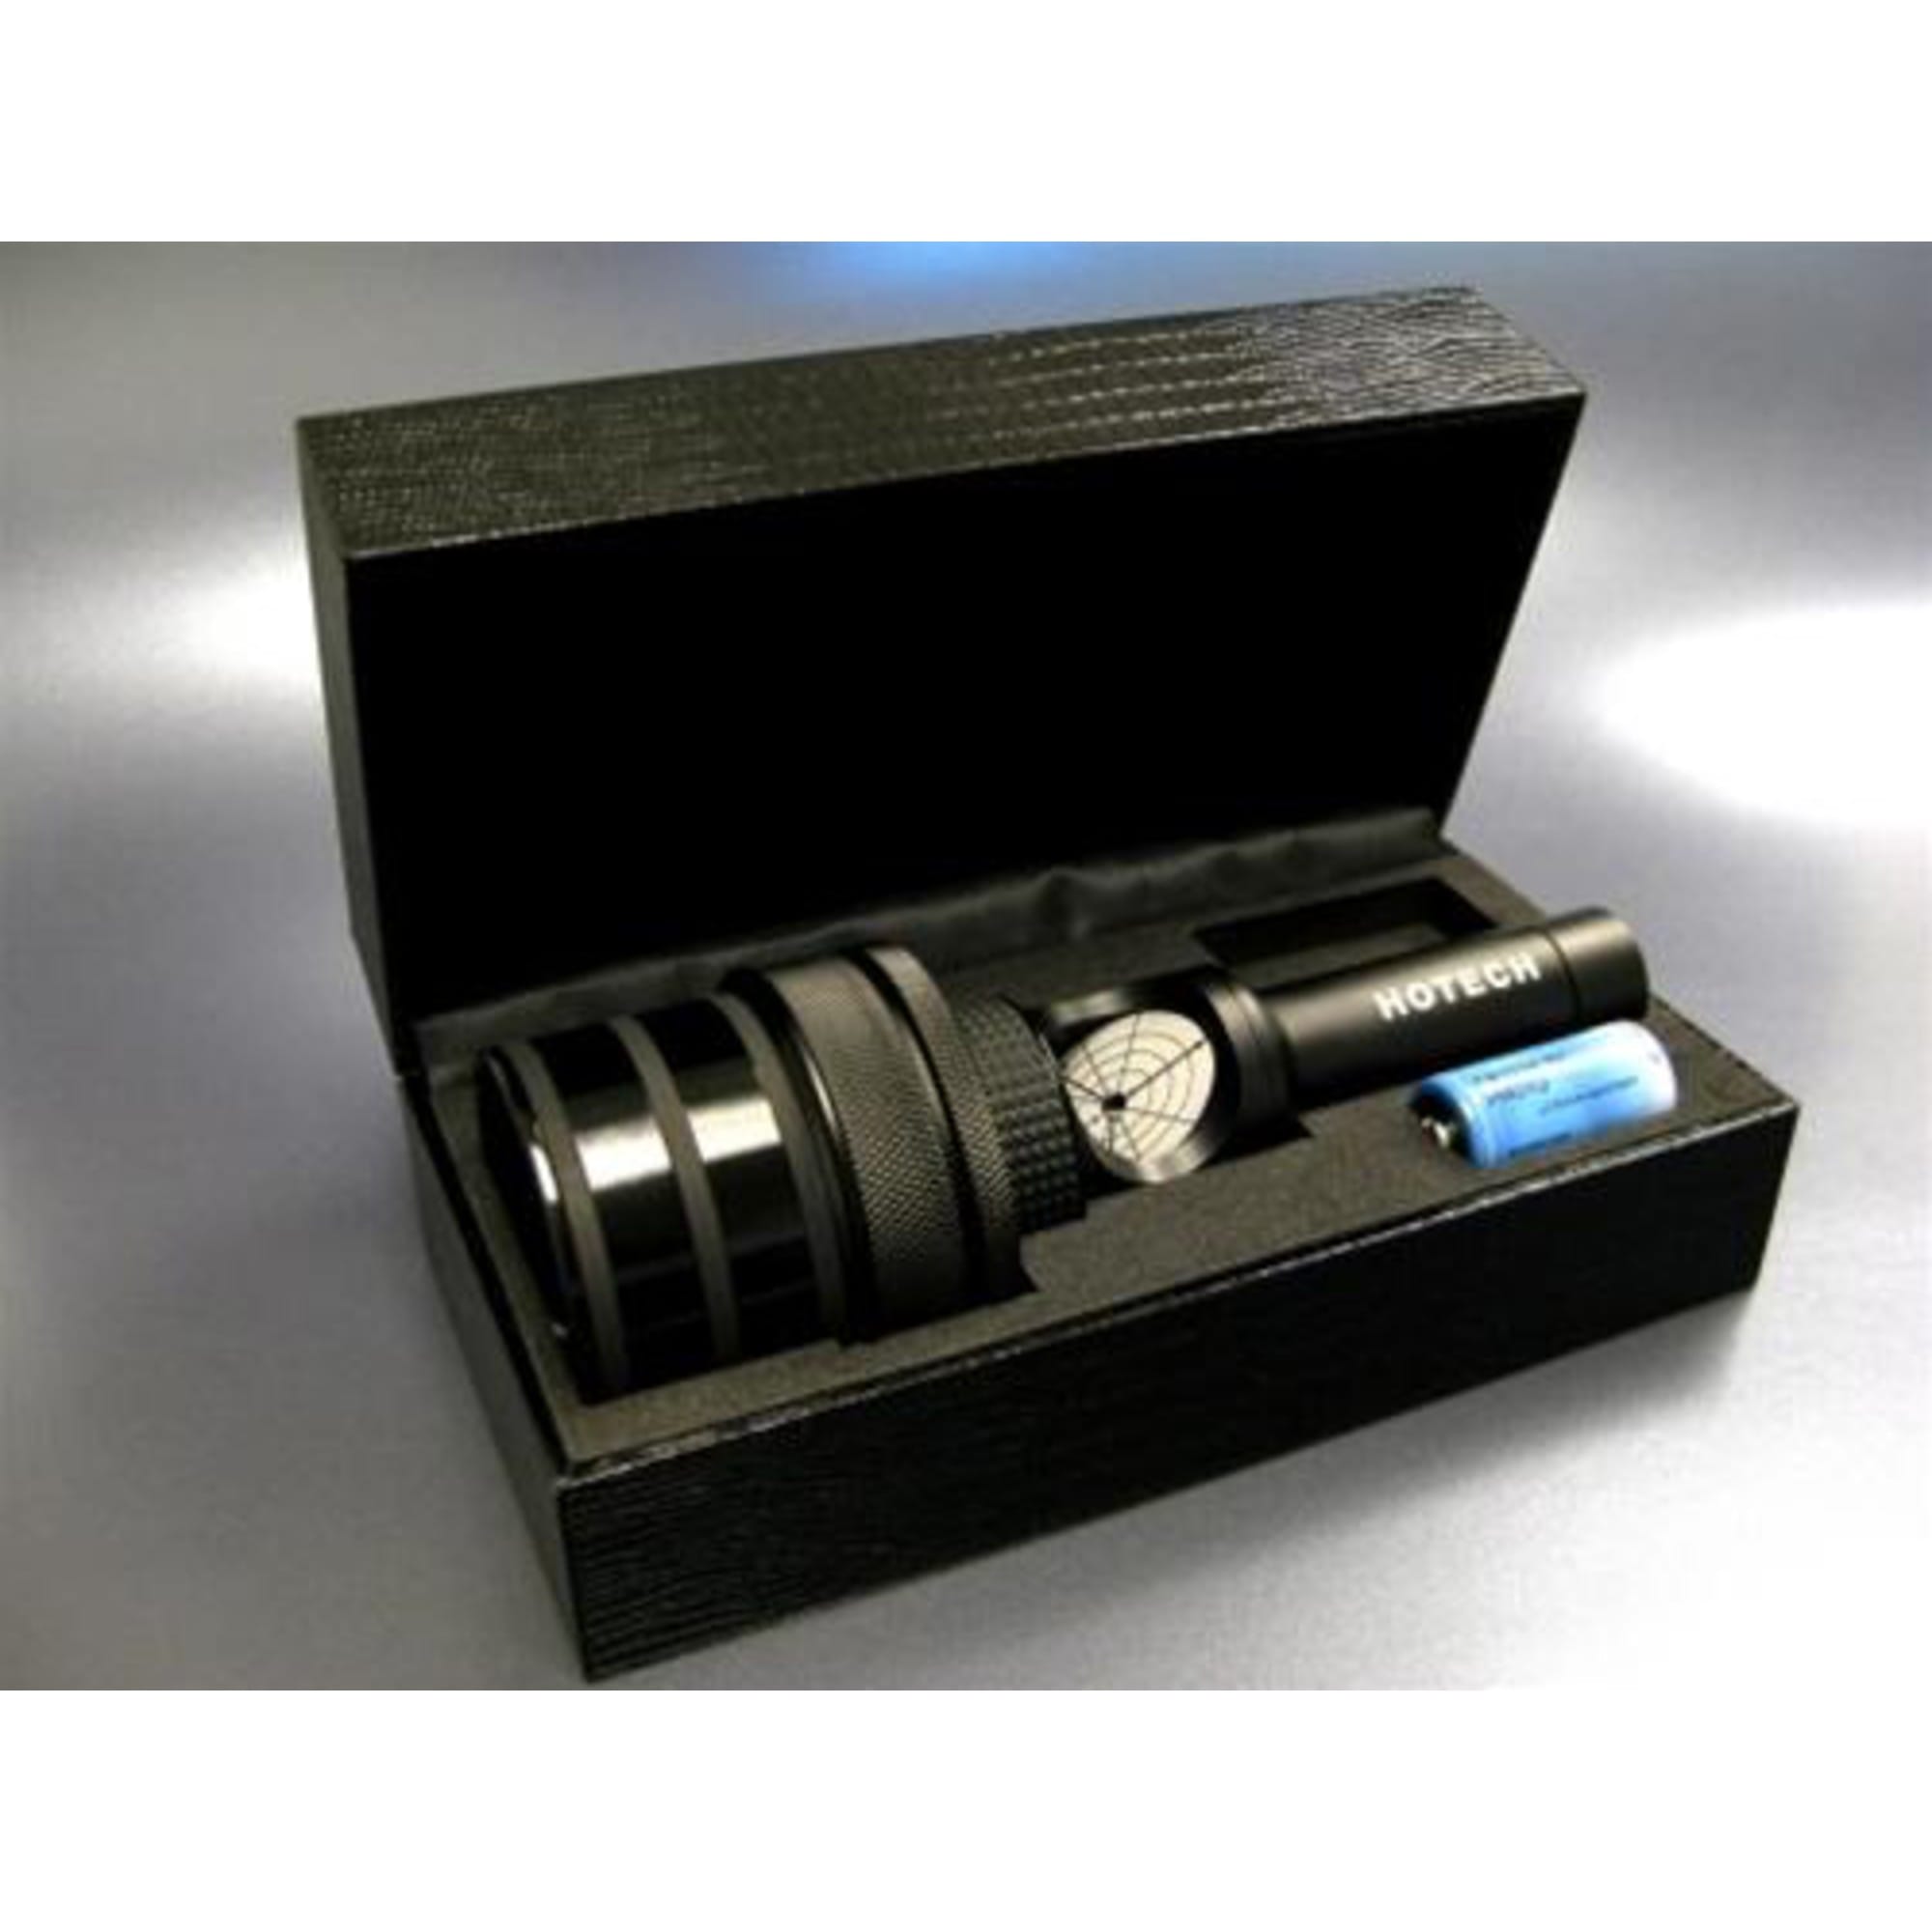
Recommendation: the HoTech SCA laser collimator. It self-centers automatically without play, ensuring it’s always exactly in the middle. This makes it more reliable than cheaper lasers.
How to Collimate your Telescope with a Laser, Step by Step
1. Position your telescope stably
Ensure the tube is upright or slightly tilted, with a good view of the primary mirror. Place it on a solid surface.
2. Insert the laser collimator into the eyepiece holder
Use a self-centering laser (like the HoTech) to ensure perfect centering — this prevents false readings.
3. Point the laser at the primary mirror
You’ll see a red dot appear on the primary mirror. In the center of that mirror is a small ring (the collimation ring).
→ Goal: bring the laser beam exactly to the center of that ring.
4. Adjust the secondary mirror
Use the allen screws on the spider (the holder of the small mirror). Turn carefully until the laser goes exactly through the center of the primary mirror.
5. Now look at the return image on the laser itself
The laser beam reflects back to the laser via the primary mirror.
→ Goal: the returning dot must exactly coincide with the starting point on the laser.
6. Adjust the primary mirror
Use the collimation knobs at the back of the telescope to slightly tilt the mirror. Turn until the dot exactly matches the return point on the laser.
7. Done? Check everything one more time.
Move the tube slightly up and down. If the laser point doesn’t shift, everything is properly aligned.
Which Tool is Right for You?
| Tool | For whom | Characteristics |
|---|---|---|
| Cheshire | Beginners advanced users | Simple, passive, always reliable |
| HoTech laser | Everyone | Fast, accurate, also for fast telescopes |
Using both? Then you always have a double check. Many enthusiasts start with a laser and verify with a Cheshire.
Tips for Perfect Results
✓ Let your telescope cool down outside for 30 minutes
✓ Position it stably before starting
✓ Always begin with the secondary mirror (small, diagonal)
✓ Then adjust the primary mirror (large knobs at the bottom)
Why is Collimation so Important?
✓ Planets: details like Jupiter’s cloud bands or Saturn’s Cassini division become much clearer
✓ Deep-sky objects: star clusters, nebulae, and galaxies remain sharp to the edge
✓ Astrophotography: sharpness and contrast visibly improve
A poorly collimated telescope delivers only a fraction of the performance you paid for. And that’s a waste, especially when collimation can be so simple.
Conclusion: Telescope Collimation is Simple with the Right Tool
Telescope collimation doesn’t have to be complicated. With a Cheshire or a HoTech laser, you can have your telescope perfectly aligned within 5 minutes. And you’ll notice the difference immediately in the image. No more blurry edges, no frustration, just sharp views of planets, the moon, and deep-sky objects.
→ Want to know more? Check out our collimation tools and accessories at Telescoop.nl and discover what best suits your telescope.