


Telescope accessories - get the most out of your scope
A telescope is only truly complete with the right accessories. Whether you want to explore the moon, capture planets sharply or take deep-sky photos, the right telescope accessories determine the difference between a frustrating session and a night full of wonder.
At Telescoop.nl you'll find everything you need to improve your observations: from eyepieces, filters and focusers to mounts, dew warmers and transport bags. This guide will help you make the right choice for any telescope, any level and any purpose.
Why accessories are so important
A telescope shows the universe, but accessories bring it to life. A good eyepiece makes details on Jupiter and Saturn come alive, a filter extracts nebulae from light pollution, and a stable mount keeps your image flicker-free.
Accessories make the difference in three points:
Sharper images: eyepieces and filters increase contrast and detail.
Fewer failures: dew caps, collimators and flatteners prevent distortion or condensation.
Work more efficiently: stable mounts and finders save time finding and tracking objects.
From beginners to astrophotographers every level benefits from the right combination.
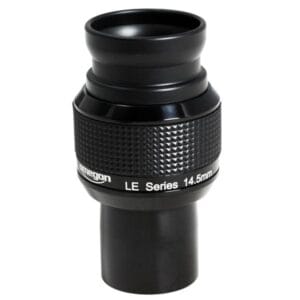
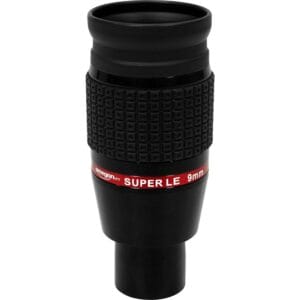
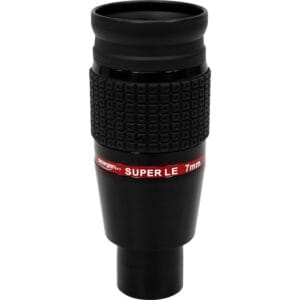
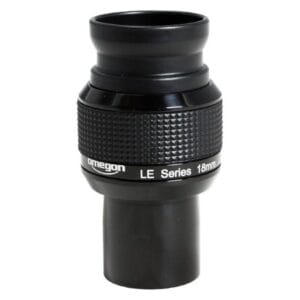
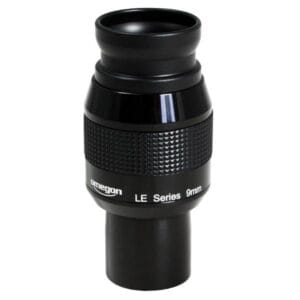
Telescope Eyepieces
The eyepiece determines how large, clear and comfortable you see the image.
The basic rule is simple:
Magnification = focal length telescope (mm) ÷ focal length eyepiece (mm)
Maximum useful magnification ≈ 2× aperture (mm)
Exit pupil = eyepiece (mm) ÷ f/ratio → 0.5-1 mm (planets), 2-5 mm (deep-sky)
A good basic set consists of:
25 mm: broad overview of star fields and the Moon.
10 mm: More magnification for planets.
6 mm: fine detail in good seeing.
Those who prefer not to change can opt for a zoom eyepiece such as the Baader Hyperion Zoom 8-24 mm. One eyepiece thus offers multiple magnifications.
Popular choices:
Omegon Cronus WA 25 mm 1.25“: wide field of view for open star clusters.
Baader Classic Ortho 10 mm: high contrast and sharpness for planetary observations.
Baader Hyperion Zoom 8-24 mm: flexibility in one eyepiece.
Read the eyepiece selection guide for more explanation of field of view and magnification.
Barlow and reversal lenses
A Barlow lens doubles or triples the magnification without loss of quality.
Choose a achromatic doublet (such as from Baader or Omegon) for less color deviation.
Rule of thumb: Three eyepieces × a 2× Barlow = six magnifications.
A reversing lens or Amici prism sets the image upright for terrestrial observation, useful for landscapes or birds.
Note: an erecting prism does not improve image quality and can cause additional reflections in cheaper models.
Reducers and flatteners
Astrophotographers use field flatteners and reducers to keep stars sharp all the way to the edge of the image. They correct curvature and shorten the focal length for a larger field of view.
Note the backfocus distance (usually 55 mm) between flattener and camera sensor. A filter wheel or adapter adds extra optical length; compensate with spacers.
Use with fast systems (f/3-f/4) fast-optimized filters to prevent shifting in the passage area.
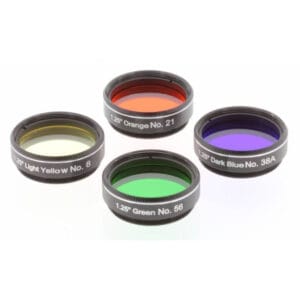
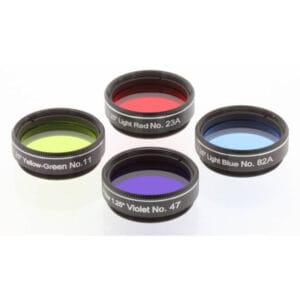
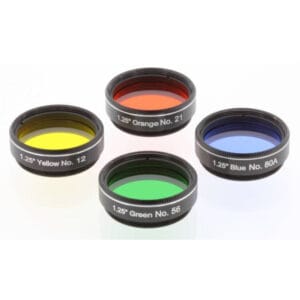
Filters - more contrast, less light pollution
Good filters make the difference between “something fuzzy” and a detailed nebula.
There are three main types:
Narrowband (Hα, OIII, SII): ideal for emission nebulae such as Orion or the Veil Nebula.
Broadband (LRGB, UV/IR-cut): suitable for natural colors with planets and galaxies.
Color filters: increase contrast on Mars, Jupiter and Saturn.
For urban sky conditions, a duobandfilter most popular: it blocks streetlights and amplifies emission lines.
Popular choices:
Baader UHC-S L filter 1.25″: broadly applicable, amplifies mists.
Baader Moon & Skyglow: more contrast on bright planets.
Optolong L-Extreme: powerful duoband filter for urban areas.
View the full filter collection.
Observing the sun - always safe
The sun is spectacular, but requires maximum caution.
Use only certified sunscreens which are placed before the opening of the telescope.
White-light filters: show sunspots and granulation.
H-alpha filters: show prominences and gas flows.
Important: never look at the sun without an approved filter. Check the fit, secure the filter and never leave the telescope unattended with children.
Filter holders and wheels
A filter wheel or filter tray allows you to change filters without removing your camera, indispensable in astrophotography.
They are available in 1.25″ and 2″ sizes and often compatible with T2 (M42) or M48 threads.
Keep in mind extra backfocus: always measure the total optical length to the sensor.
Mountings and stability
A stable mount determines how smoothly you follow objects.
A equatorial mount Compensates for earth rotation so that stars remain in focus, essential for photography.
There are two main types:
For photography: Choose a mount with at least twice The weight of your telescope + camera.
More explanation can be found in the mounts guide.
Tripods and mounting
A good tripod is just as important as the telescope itself.
Choose a low vibration sensitivity, preferably aluminum or carbon.
Use Vixen or Losmandy dovetails For safe tube mounting.
A solid base prevents images from moving during focusing or shooting.
Collimation and alignment
A properly collimated telescope gives sharper images.
Use a laser collimator or Cheshire eyepiece To precisely align mirrors and lenses.
Newton reflectors require this more often (about every month), refractors rarely.
A correctly aligned telescope produces visibly higher contrast and sharper stars.
Focusers and focusing
A focuser determines how precisely you focus.
Dual-speed models have a fine setting that allows for flicker-free focusing, essential for high magnifications or astrophotography.
For heavy cameras, a rugged Crayford or rack-and-pinion focuser the right choice.
A smooth focuser is often the quietly unobtrusive hero of your telescope.
Searching and centering
Finding stars becomes easy with the right tools.
Optical viewfinders (6×30 or 9×50): show the star field all around.
Pole finder: helps in precise alignment of an EQ mount to the Pole Star.
Dew and moisture under control
Condensation can literally shut down your session.
A dew cap prevents the front lens from cooling too quickly, while heating ribbons actively counteract the dew point.
Especially with Schmidt-Cassegrain and Maksutov telescopes, this is crucial.
Keep the temperature of the heater just above the dew point; too hot causes air vibrations.
Cleaning and maintenance
Optics are fragile.
Use microfiber cloths, blower balls and lens pens to remove dust or fingerprints.
Clean only when really necessary; any polishing can affect coatings.
Never use household cleaners; only special optical cleaners.
A dry storage area prevents mold. After use: let the telescope come to room temperature before storing it.
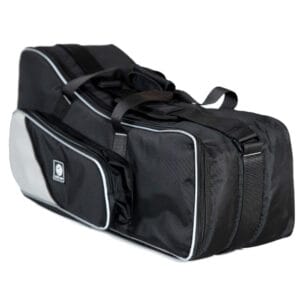
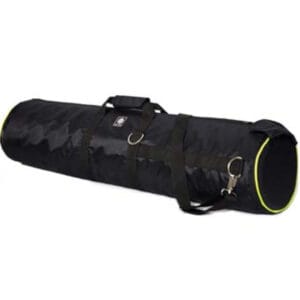
Transportation and protection
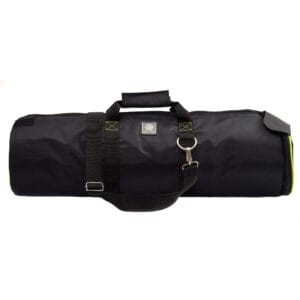
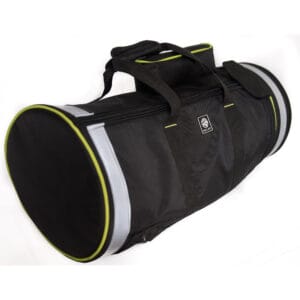
Protect your telescope with a sturdy telescope bag or case.
Padded bags with foam protect during transport and keep everything dust-free.
View bags and cases For Newtonians, refractors and accessories.
For long trips, a hard case with locking clips or wheels is ideal, no more worries about collimation after arrival.
Astrophotography and cameras
Making your own images of the night sky is easier than ever.
There are three main categories of cameras:
Smartphone adapters: ideal for directly capturing the Moon or Saturn.
Planetary cameras: small CMOS cameras that stack thousands of frames (such as the ZWO ASI462MC).
Deep-sky cameras: cooled and with large sensor surface area (ZWO ASI533MC Pro) for nebulae and galaxies.
Starter Tip: Start with a planetary camera; little investment, quick results.
Use a field flattener for even sharpness and check the back focus (55 mm) between lens and sensor for optimal results.
Power supply
Good nutrition prevents frustration.
Use a 12 V power bank or Celestron PowerTank For longer sessions.
Choose a capacity of at least 7 Ah For nights of 5 hours or longer.
Don't forget spare cables; cold and moisture can cause connectors to fail faster.
Frequently asked questions about telescope accessories
What eyepiece combination is ideal?
A 25 mm for overview, a 10 mm for planets, and possibly a 2× Barlow for additional magnifications.
How often should I collimate?
For Newton telescopes, every 3-4 weeks or after transport. Refractors rarely need adjustment.
What filter size fits my telescope?
Check if your focuser supports 1.25″ or 2″; most telescopes have both via an adapter.
Which is better: 2× or 3× Barlow?
2× is universal and bright; 3× only with perfect seeing and large aperture.
Does an erecting prism help with image quality?
No, the image is only straightened; the optical quality does not change.
As a beginner, what do I really need?
An extra eyepiece (10 mm), a decent 2× Barlow and a red-light flashlight. With these, you will see more without expensive upgrades.
How do I prevent dew?
Use a dew hood or heater and store the telescope dry afterwards.
When should I clean?
As little as possible. Blow away dust, use a lens pen, and only then liquid if necessary.
Popular accessories at Telescoop.co.uk
Eyepieces
Filters
Protection and dew
Conclusion - accessories make the experience
With the right accessories, you get the most out of your telescope: sharper image, better contrast and more comfort.
Whether you are a beginner exploring the moon or an advanced astrophotographer looking to capture the Andromeda Nebula - quality in accessories determines results.
At Telescoop.nl you will find a carefully selected assortment, expert advice and fast delivery.
✔ Ordered before 23:59, delivered within 48 hours
✔ Free shipping from €100*
✔ 14-day cooling-off period & 5-year warranty
✔ Personalized advice via chat, email or phone
From first observation to professional shooting: with the right accessories, you'll see farther than ever.