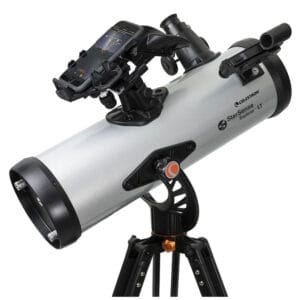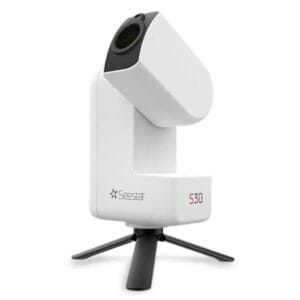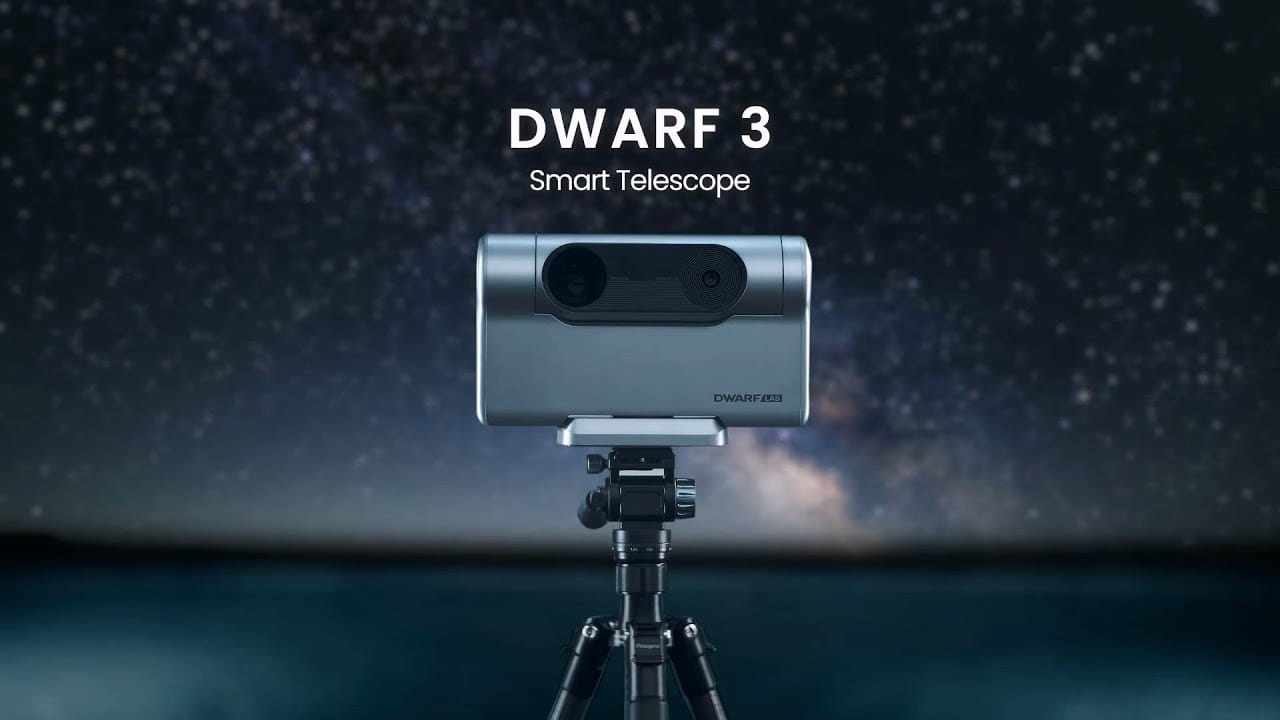
Want to get the most out of your DWARF 3? With these dwarf 3 tips, you’ll discover how to use your smart telescope more effectively, capture more stable images, and take even sharper astrophotos. In this comprehensive guide, we explain everything step by step, so you can achieve better results immediately.
Start with a Perfect Setup
One of the most important dwarf 3 tips is to always ensure a stable foundation. Use a sturdy tripod and keep it as low to the ground as possible. By lowering the tripod, you significantly reduce the impact of wind and vibrations. Additionally, position one leg of the tripod exactly towards the north, so the DWARF 3 remains extra stable during longer exposures. This simple but effective setup prevents skewed images when using equatorial mode.
Make Use of the Equatorial Mode
One of the unique advantages of the DWARF 3 is its internal equatorial tracking. This feature automatically compensates for Earth’s rotation, keeping stars and deep-sky objects sharp during long exposures.
Here’s how to set it up correctly:
- Open the DWARF app, go to Astro mode, and select “EQ Mode”.
- Ensure your DWARF 3 points north and tilt it according to your latitude (for example, 52° for the Netherlands).
- Follow the automatic three-point polar alignment. The DWARF 3 scans the night sky itself and provides instructions if alignment correction is needed.
- Make small adjustments until the deviation is less than 5° for optimal tracking.
With good polar alignment, you can take exposures from 30 to even 60 seconds without noticeable star trails.
Protect your Telescope from Wind
Even though the DWARF 3 appears compact and robust, wind can seriously disrupt your photos. A smart tip is to photograph from a sheltered location, such as a balcony, behind a wall, or even under a low object (like a small wall or fence).
By minimizing wind load, you prevent micro-vibrations that would otherwise cause subtle blurring in your star photos.
Use the Internal Dual Band Filter Smartly
The DWARF 3 has a built-in dual band filter that’s especially helpful when capturing nebulae. This filter only allows specific wavelengths through, significantly suppressing light pollution.
When to apply:
- Use the dual band filter for nebulae (such as the Veil Nebula or the Orion Nebula).
- Turn on Astro mode and activate the internal filter when choosing your settings.
- Combine the use of the filter with long exposure times (30-60 seconds) for maximum effect.
Even under light-polluted urban conditions, you can take beautiful deep-sky images with these settings.
Make Use of Existing Dark Frames
Another important dwarf 3 tip is to use existing dark frames. Dark frames correct noise and hot pixels in your astrophotos, especially during longer exposures. The DWARF 3 comes with standard dark frames loaded at around 30°C, but you can also create new dark frames if your sensor gets warmer.
Here’s how to use them:
- Go to the Dark Frame function in the app.
- Select a dark frame that matches your gain and exposure time.
- When possible, use dark frames with temperatures close to the current sensor value.
Taking your own dark frames at the correct temperature significantly improves your final image quality.
Use Correct Settings for Exposure and Gain
To achieve the best results, you need to choose the right combination of exposure time and gain:
- When using equatorial mode: choose 30-60 seconds exposure time and gain 60-80.
- Avoid unnecessarily high gain settings (above 120), as this increases noise without much gain in detail.
- Adjust your settings depending on the brightness of the target object and the amount of light pollution.
A well-configured telescope produces not only sharper, but also more colorful and higher contrast images.
Consider Stacking Raw Frames
The DWARF 3 can stack photos itself, but you’ll achieve even better results by stacking the raw frames on your computer.
Quick explanation:
- Connect the DWARF 3 to your computer using a USB-C cable.
- Copy the FITS files from the “Astro” folder.
- Use software like PixInsight or DeepSkyStacker to manually combine the frames.
- By stacking manually, you can apply techniques like “drizzling”, significantly improving resolution and detail.
Manual stacking requires extra effort but produces visibly sharper and cleaner images.
Summary: Taking your DWARF 3 to the Next Level
With these smart dwarf 3 tips, you can elevate your astrophotography to a higher level. By ensuring a stable foundation, making smart use of the equatorial mode, utilizing the internal dual band filter, and applying dark frames, you’ll get the best out of this impressive compact telescope.
Want to experience for yourself how simple and powerful astrophotography can be? Check out the capabilities of the DWARF 3 smart telescope on our website.
Keep discovering, keep learning – and above all: keep looking up.